Designing the perfect shower is about more than aesthetics; it’s about creating a functional space that optimizes your daily routine. Whether designing a shower for a new home or remodeling your existing space, a thoughtfully designed shower must be created with your everyday routine in mind. This guide will help you navigate the key steps to design your dream custom shower.
- Determine Your Budget
- Determine the Shower Location and Size
- Pick Your Shower Type
- Consider the Shower Walls and Entrance
- Choose Your Shower Fixtures and Features
- Lighting and Ventilation
- Plan the Layout
- Material Considerations
- Visualize with 3D Design Software
Determine Your Budget
A shower budget can vary greatly depending on the scope of work, labor, materials, features, and more. A simple shower retrofit could only be a few thousand dollars, whereas a large luxury shower might cost tens of thousands. Evaluating your finances and how much you can afford to spend on your shower project will help determine the extent of your shower design.
Ask contractors for examples of past projects to understand what shower design options are available and at what cost. Another option is to design your shower, get quotes from several contractors, and adjust your shower design based on the quotes.
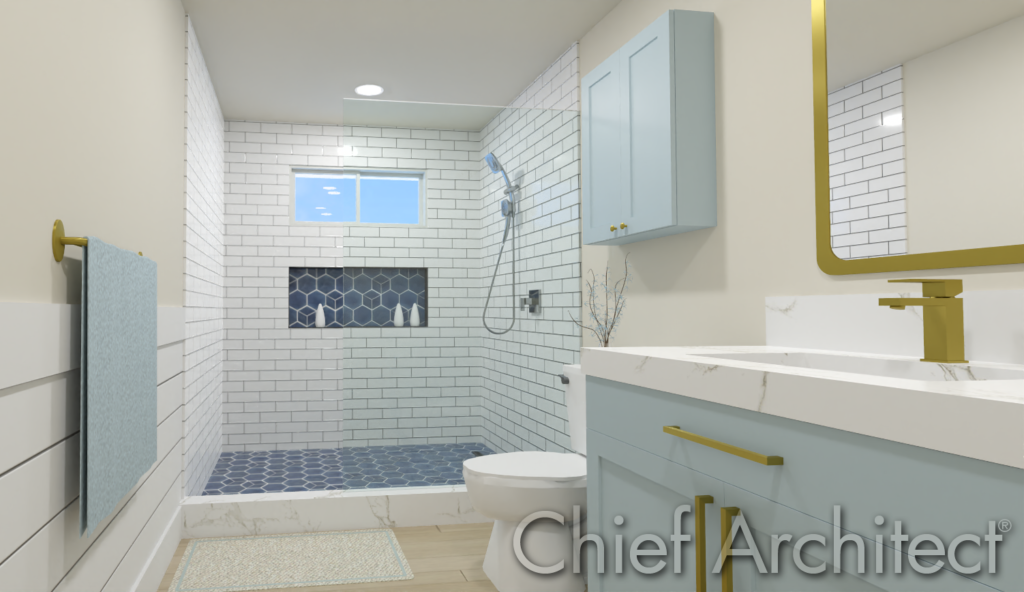
Determine the Shower Location and Size
Your home’s floor plan and space within the bathroom area will determine your shower location and size.
Shower Location
Your shower’s location within the bathroom should be planned for efficiency and privacy. Here are a few tips to help you choose the shower location within the bathroom:
- Place the shower away from walls that are shared with rooms that need to be quiet, such as an office or bedroom, or plan for soundproofing.
- Consider placing the shower near a window to incorporate more natural light and expand your view when using the shower.
- Position the shower away from direct views of the bathroom door to increase privacy.
Shower Size
Standard shower sizes range from 30” x 30” up to 30” x 60”, but can be even larger if you are designing a custom shower. When determining the shower size, consider who the primary user is, the space needed for comfort, and any desired features.
Here are some standard shower sizes:
- Small Shower: The minimum shower size allowed by International Residential Code (IRC) is 30” by 30”. This size can work if your bathroom is tight on space but may feel cramped.
- Medium Shower: A better starting size for your shower is 36” by 36”. This size makes it easier to maneuver within the shower.
- Larger Shower: A spacious shower is 48” by 48” or larger. This size allows you to accommodate optional features such as a shower bench.
- Walk-in Shower: A walk-in shower usually starts at 30” by 60” and may feel like its own dedicated room with many features. Common features include multiple shower heads from above and on the walls, seating and/or a lounge, a steam generator, and more.
- Corner Showers: Corner showers usually have a curved or angled front and are often used if the bathroom is tight on space. Corner shower sizes typically start at 32” by 32”
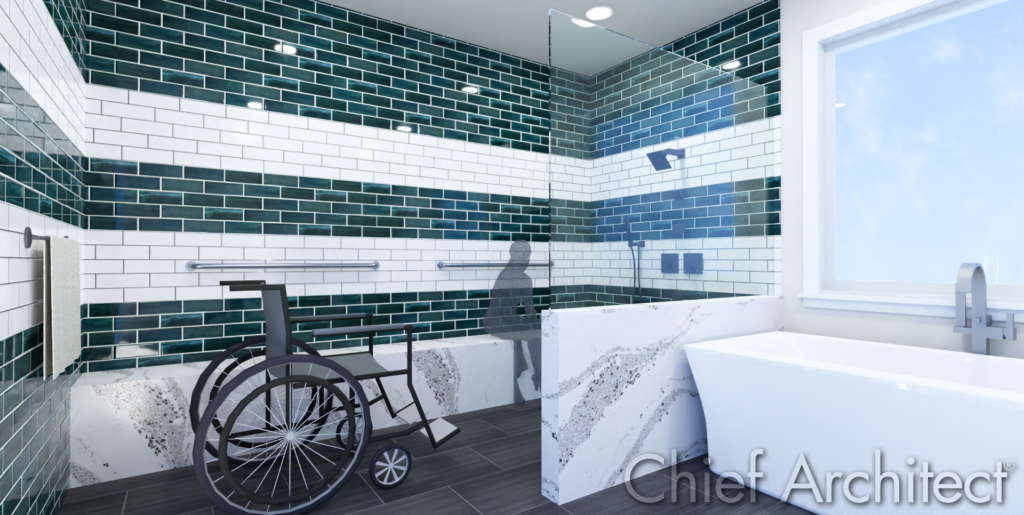
- Ada-Compliant Showers: A Transfer Shower is a type of shower that makes it easy for people to move from a wheel to a shower bench or seat. ADA-compliant Transfer Showers are at least 36” by 36” and a seat must be provided within the shower area. A Roll-In shower is a barrier-free shower that a wheelchair can roll in to. ADA-compliant Roll-in showers are at least 30” by 60”.
Pick your Shower Type
Once the location and size of the shower are determined, the shower type and construction can be planned. This is an ideal time to consider your needs, which will help determine the shower’s construction.
Most shower types can be categorized as either a prefabricated shower or a fully custom shower design.
- Prefabricated Shower: A prefabricated shower is the most affordable and common option. A prefabricated shower is a stall often made from fiberglass, acrylic, or a composite material manufactured as a single unit. There are many prefabricated shower options; some may include features such as shelves or grab bars. While they are typically more affordable and easy to maintain, they are often considered less stylish and lack the high-end appearance and full features options custom showers may offer.
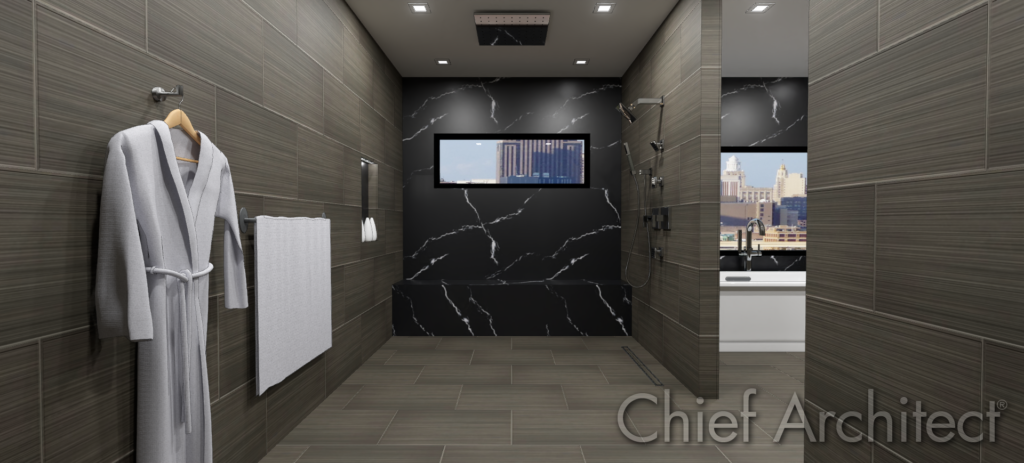
- Custom Shower: A customized shower is designed and built to your specifications. The design process involves planning every shower detail, including the size, wall construction, fixtures, features, materials, etc. Custom showers require a higher upfront investment but can increase your home’s value. While custom showers are luxurious and beautiful, many more details need to be considered in the design process., They are often more time-consuming to build and may need to be professionally built. Custom showers are often more difficult to clean and can require regular maintenance.
| Feature | Prefabricated Shower | Custom Shower |
| Cost | Lower, more budget-friendly | Higher, more investment required |
| Resale Value | Minor | Major, especially in primary bathrooms |
| Installation | Fast, easy, can be DIY-Friendly | time-consuming, may require professional installation |
| Design options | Standard sizes, colors, shapes. Limited features available | Fully customizable |
| Aesthetics | Basic | Premium, high-end options |
| Durability | Durable | Durable but may require regular maintenance |
| Accessibility | Options available | Fully customizable to the user |
Consider the Shower Walls and Entrance
If you are designing a custom shower, you will need to design the walls and entrance that form the shower and separate it from the rest of the bathroom. The shower walls and entrance play a key role in determining the level of privacy the shower offers and the shower aesthetics.
First you will need to choose the shower wall type you will use and there are several options to pick from:
- Glass Wall: A glass wall is a sheet of glass used for one or more shower enclosing walls. Glass walls are made from tempered glass, which is durable and shatter resistant. These walls allow light to pass through, making the shower feel bright and open and visually making small bathrooms appear larger than they are. Frosted or textured glass can be used to offer privacy. While glass shower walls are often considered modern and stylish, they require regular cleaning to prevent water spots and soap scum. Safety should be considered with glass walls – if the primary user has balance problems or if the shower will be regularly used by a child, a glass shower wall may not be the best option.
- Full Height Wall: A full-height wall goes from the floor to the ceiling forming the shower enclosure. These walls are framed walls that are waterproofed and have a decorative exterior material (tile, stone, etc.). This wall construction option provides the most privacy; however, regular maintenance may be required on the chosen exterior material (grout cleaning, stone sealing, etc.).
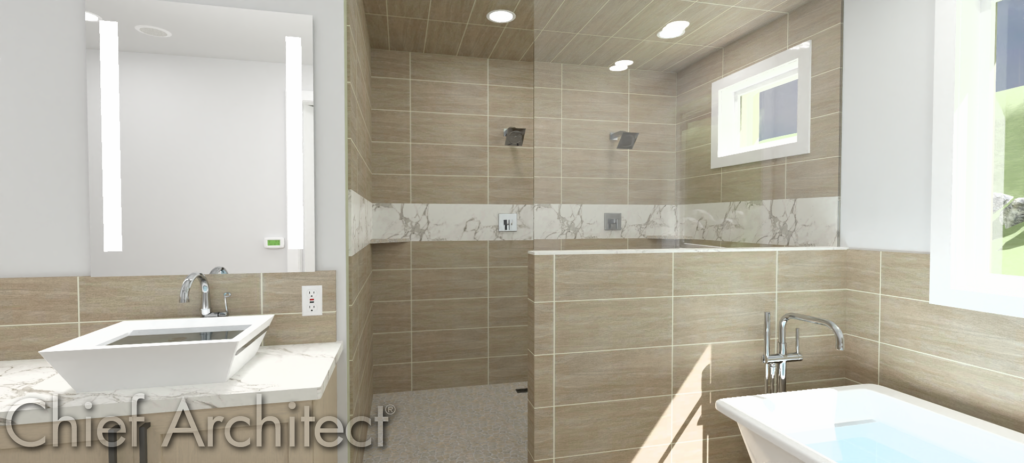
- Pony Wall: Pony walls in a shower typically consist of two different wall types – an upper and a lower section. For example, you may have a framed wall for the lower section with a tile material covering the wall, while the upper section may be plate glass or glass block material. Pony walls of this type can offer partial privacy to the shower user while allowing the shower to maintain a spacious feel and allow natural light to enter from the adjacent room. Pony walls can add visual interest to a bathroom but may require more maintenance and cleaning than other wall types.
| Feature | Glass Wall | Full Height Wall | Pony Wall |
| Light Flow & Aesthetics | Maximizes light flow, makes the room feel more open and larger than it is. Sleek, modern, minimalist. | Enclosed, no light flow between shower and bathroom. Exterior material can accommodate a variety of design styles. | Partial light flow, balances an open feel with privacy. Lower wall’s exterior material can accommodate a variety of design styles. |
| Privacy | Least private. Frosted or textured glass can improve privacy. | Most privacy | Partial privacy |
| Durability | Durable when used properly. Not recommended for users with balance problems. | Most Durable | Durable |
| Maintenance | Daily-to-Regular cleaning for water spots and streaks. | Regular cleaning of surface material, grout line maintenance | Most Cleaning. Daily-to-Regular cleaning and maintenance of both lower and upper walls. |
Once the shower wall type is chosen you can determine the shower entrance.
- Curbless: A curbless shower entrance has no barriers between the shower and bathroom floor space. This type of entrance is ideal for those with accessibility needs while offering a seamless look that makes the bathroom appear larger. The shower floor has to be sloped towards the drain to prevent water from seeping into the bathroom area.
- Curbed: A curbed shower entrance is a small barrier between the shower and bathroom, typically about 3” – 6” high. The primary function of a curb is to prevent water from seeping into the bathroom area.
- Door: Shower doors provide water containment. Shower doors can be used with both curbed and curbless entrances. They come in various styles, such as hinged, sliding, and more. If using a hinged shower door, IRC code requires that the door swings outward for safety, but commonly, hinged shower doors will swing in both directions.
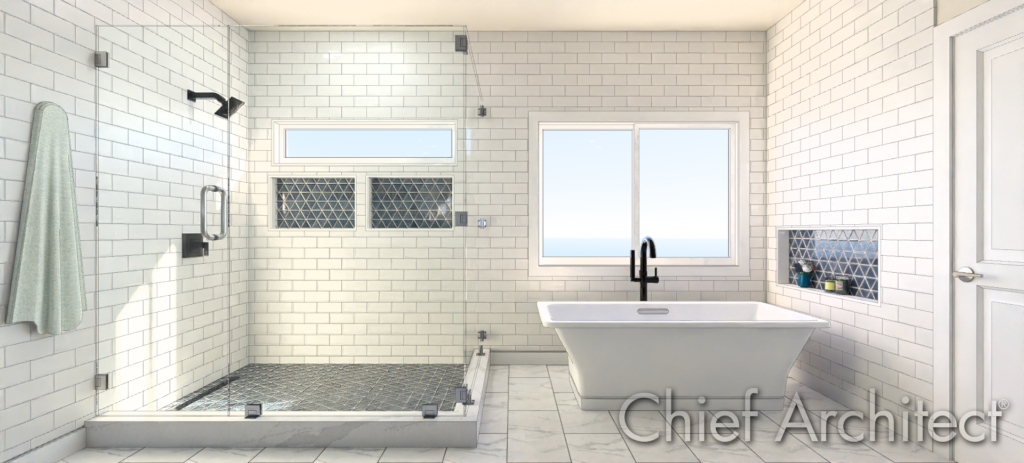
Choose your Shower Fixtures and Features
The fixtures and features you choose will go a long way in determining your shower usage experience. The key step here is to evaluate your shower needs, which will help you select fixtures and prioritize features.
Here are some essential fixtures and popular features you might consider for your custom shower:
- Showerhead: The showerhead is one of the most important fixtures in your shower. Showerheads come in various types, such as fixed on the wall, an overhead rain showerhead fixed to the ceiling, or a handheld showerhead on a hose (ideal for those with accessibility concerns and cleaning the shower). Smart shower heads can include LED lights, speakers, and smart-home features built into them. If the shower size is large enough, it may even include multiple shower heads, but you will want to have a professional ensure your plumbing system is equipped to handle higher water flows to the shower.
- Shower Faucets: In conjunction with the showerhead, each showerhead in your shower will require a faucet to control the water flow and temperature. Shower faucets are available as either a one-handle or two-handle fixture. Single-handle faucets control both the water flow and temperature with a single lever. Double-handle faucets have separate handles for controlling hot and cold water flows, allowing for more precise temperature adjustments. The shower faucet will almost always match the showerhead material, such as being finished in chrome, brushed nickel, matte black, and more. Additionally, the shower head and faucets will be available in various styles to match the design style of the rest of the shower and bathroom area.
- Shower Drain: Another necessary shower fixture, the shower drain serves as the entry point for removing wastewater from the shower. Shower drains can be located in the center or along the edge of the shower, with the floor slightly sloping towards it. If your shower will have multiple shower heads, make sure your drain size can accommodate the water output of your shower. Drains come in various shapes, sizes, and materials with the material ideally matching the appearance of the faucet and shower head.
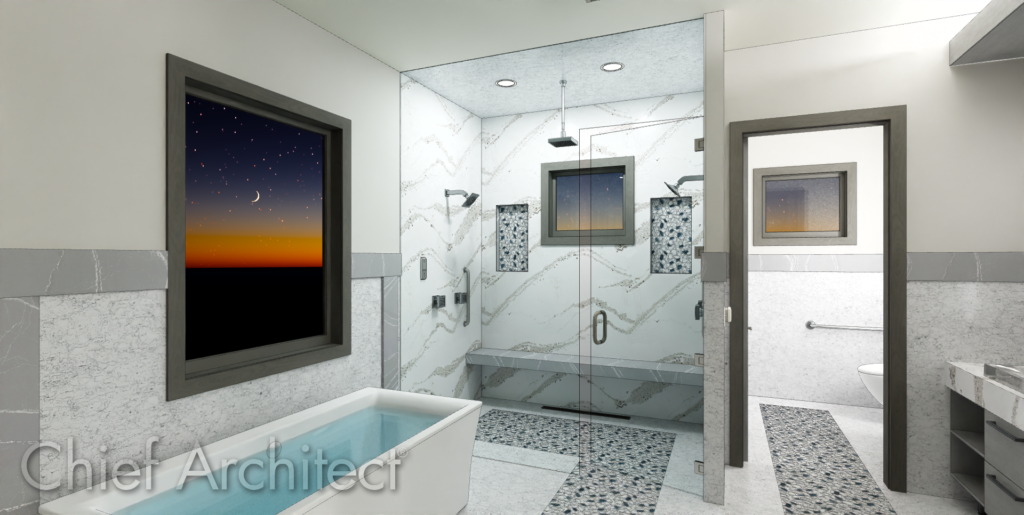
- Shower Niche: A shower niche is a small recess built into a shower wall for holding hygiene items. Niches can be built to any size but are generally rectangular in shape. If a niche is tall, it can contain shelves. Niches can also serve as an aesthetic focal point in the shower by using a different backing material than the sides or integrating LED lights.
- Shower Bench: Shower benches are practical and stylish additions to showers that enhance safety and usability by providing a comfortable spot for sitting, bathing, shaving or placing accessories. The bench may be floating above the shower floor or a box style extending to the floor. Built-in benches can be finished with a material that matches the rest of the shower or use a different accent material that stands out. Fold-down benches are a good option for small or budget showers. IRC code requires benches to be 17” to 19” above the floor and 15” – 16” deep.
- Grab Bars: Shower grab bars are safety features that provide stability and support for the occupant. The diameter is usually 1.25” – 2”, with the ideal height being 33” to 36” above the floor, and the length can range from 12” to 42” to accommodate any shower size. They can be installed vertically, horizontally, or at an angle. Additional wall framing and blocking should be designed into the wall to ensure the grab bar can be securely fastened to the wall.
Lighting and Ventilation
Ensuring adequate lighting and ventilation is critical for a functional and safe shower. A shower with proper lighting can help it feel brighter while helping you see the shower area, reducing the risk of slipping. Proper lighting can also help you evaluate a material’s condition and see if it needs to be cleaned, if mold/mildew is occurring, if maintenance is needed, etc. Some common forms of shower lighting are recessed lights approved for shower locations (wet rated/vapor proof), combination exhaust fan with integrated light, and various wet rated LED lighting. Other sources to consider can come from nearby lighting, a window, or a skylight.
International Residential Code (IRC) requires venting in a bathroom. This can be an operable window at least 3 square feet in area or a mechanical exhaust vent. Below is a general guideline for exhaust venting for various bathroom sizes.
- Less than 50 sq ft: 50 CFM
- 50 – 100 sq ft: 1 CFM per sq ft of floor space
- More than 100 sq ft: add 50 CFM for each fixture or 100 CFM for a jetted tub
Proper venting can help prolong the life of your bathroom and shower by removing excess humidity. This will ultimately help prevent mold, mildew, and moisture damage and protect surfaces such as ceilings and paint.
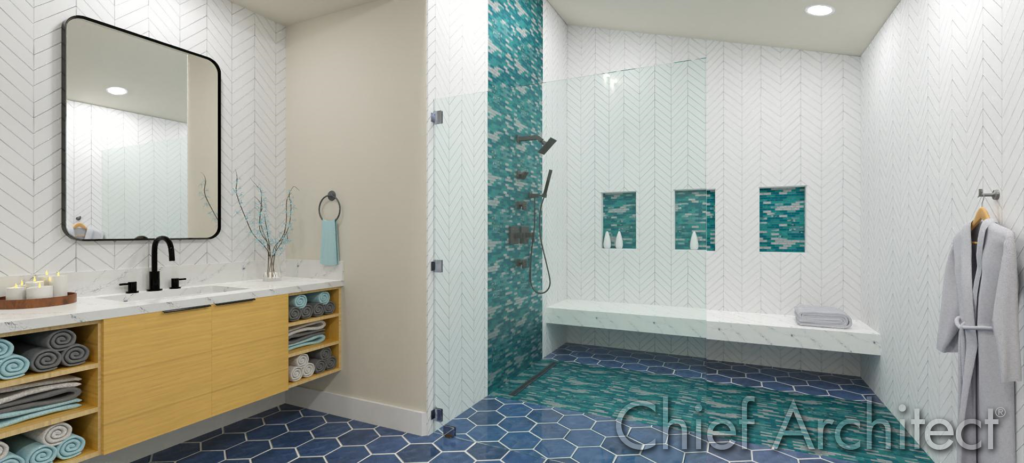
Plan the Layout
Now that we have determined the shower type, location, size, walls, and fixtures, you are ready to plan the shower layout. The layout will be where the fixtures, features, and shower entrance are located within the shower.
While every shower layout will be unique and specific to your individual needs, there are some general tips for planning your shower layout to optimize your shower experience.
- Position the showerhead away from the shower entry to minimize splashing to the outside.
- Ensure the shower’s entry isn’t obstructed by doors, cabinets, or other fixtures. If your shower will have a door, make sure there is enough space for it to open to at least 90 degrees.
- Position shower control knobs within easy reach of the shower entrance. You should be able to turn on the shower without needing to step into the shower.
- You can make plumbing easier to install and more cost-effective if there is an opportunity for the shower fixture wall to be shared with other walls that require water, such as sinks or toilets.
- Plan for how you will access towels from within the shower.
- If a window will be in the shower area, avoid placing the shower head where water may directly hit the window.
- Position benches for minimal water exposure, ideally out of reach of a fixed shower head but within reach of a handheld shower head.
- Position the drain away from the primary standing area for comfort.
- If your shower will have recessed waterproof lighting, position the lights to minimize shadows for functionality and safety.
- Install the exhaust fan near the shower to prevent humidity and mold, but not directly in the shower to avoid water damage.
Material Considerations
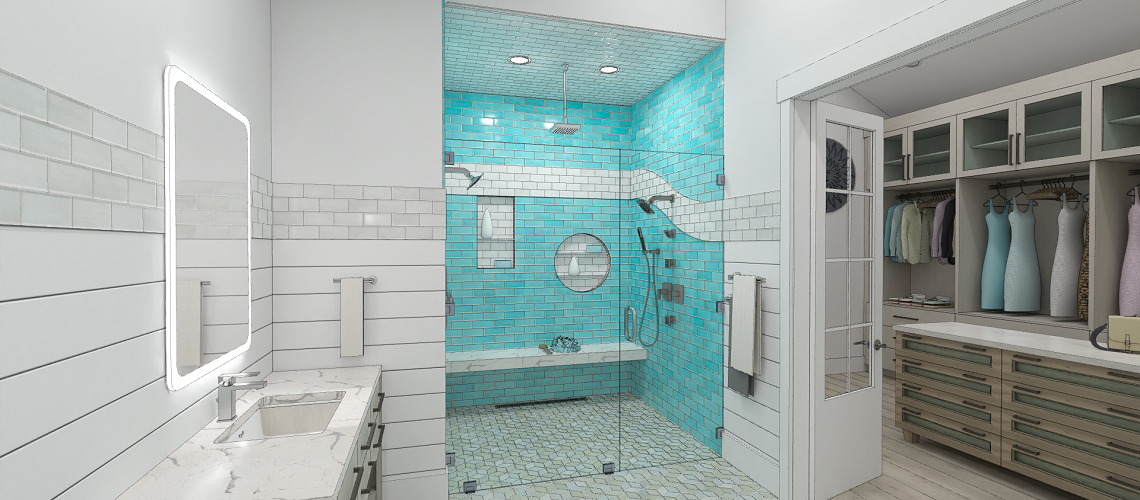
The shower’s material selections will be the most noticeable thing about it. In addition to choosing an aesthetically pleasing material, it is also essential to consider the material’s safety and maintenance. To help ensure safety, try to choose nonslip flooring materials that are textured or matte for better traction. Some materials may require grout. Consider whether you are up to the task of cleaning and maintaining the grout lines. If you are not up to the task, choose materials that need less cleaning or maintenance. To make your shower more visually interesting, consider incorporating a vertical or horizontal accent band to add character. Similarly, if your shower has a niche, consider having the niche backing material stand out to make it a focal point. Lastly, ensure the shower’s chosen materials align with your goals for the overall bathroom design style, such as modern, contemporary, retro, etc.
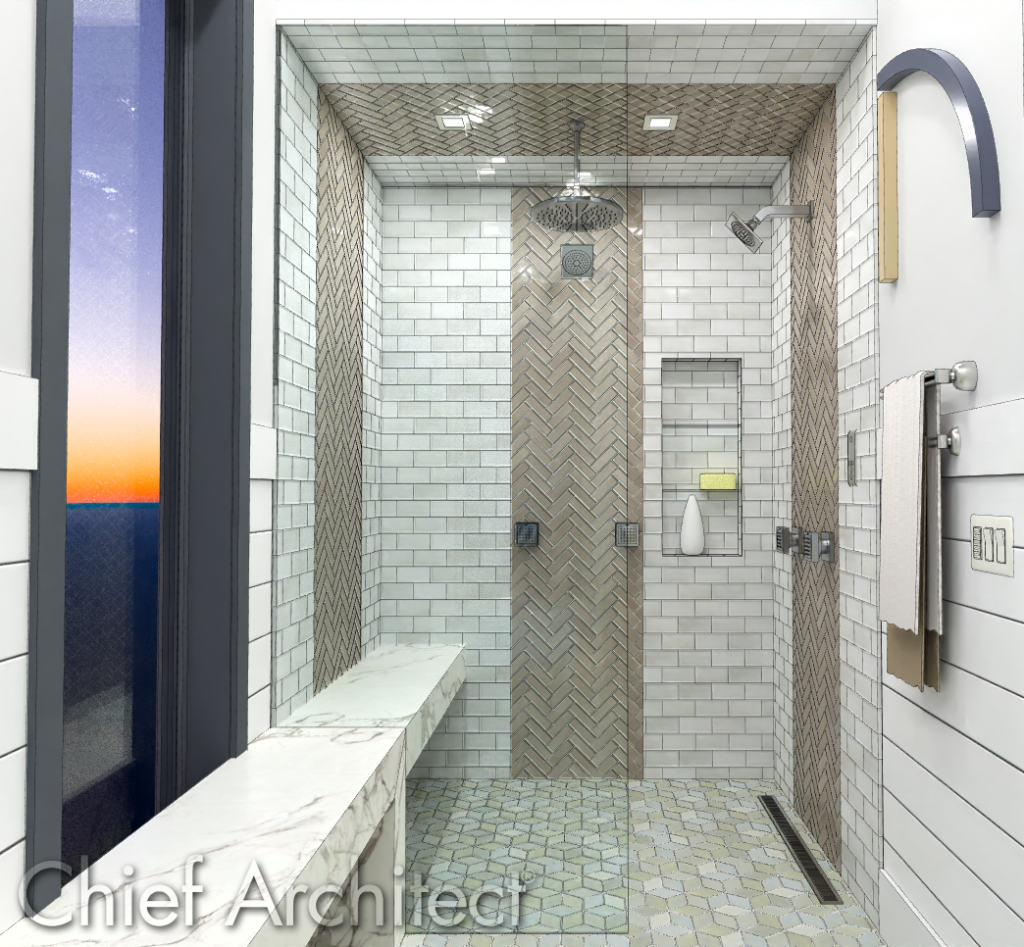
Here are a few materials you may consider for your shower:
| Material | Usage | Pros | Cons |
| Ceramic Tile | Walls, Floors | Durable, water-resistant, versatile designs | Grout requires maintenance |
| Porcelain Tile | Walls, Floors | Denser and more water-resistant than ceramic | Higher cost than ceramic, grout requires maintenance |
| Natural Stone (marble, etc.) | Walls, Benches, Niches | Luxurious, natural aesthetic | Higher upfront cost, requires regular sealing |
| Solid Surface Materials (Corian, etc.) | Walls, Benches, Niches | Seamless, customizable, and contemporary appearance | Higher upfront cost |
| Small Mosaic Tiles | Walls, Floors, Niches | Can be slip-resistant due to grout lines | Grout can be challenging to clean |
| Pebble/River Rock Tiles | Walls, Floors, Niches | Natural look, slip-resistant | Uneven surfaces may trap water and require more cleaning, grout requires maintenance |
| Stainless Steel, Brass, Chrome, Matte Black/Brushed Nickel | Fixtures (showerheads, drains grab bars, door handles, etc.) | Durable, rust-resistant | Water spots can accumulate |
| Tempered Glass | Walls, Doors | Shatter-resistant, available in clear, frosted, or textured options | Requires, regular cleaning, water spots can accumulate |
Visualize with 3D Design Software
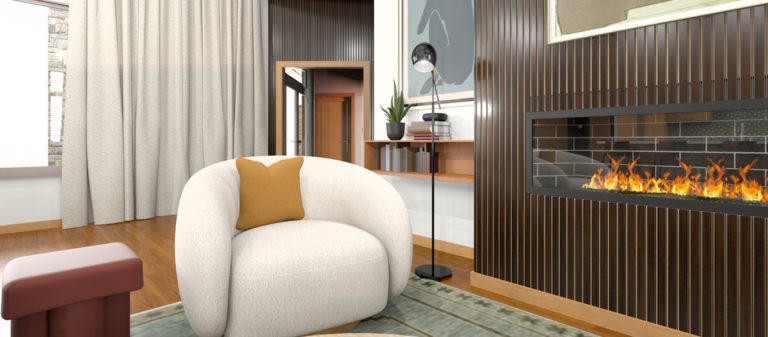
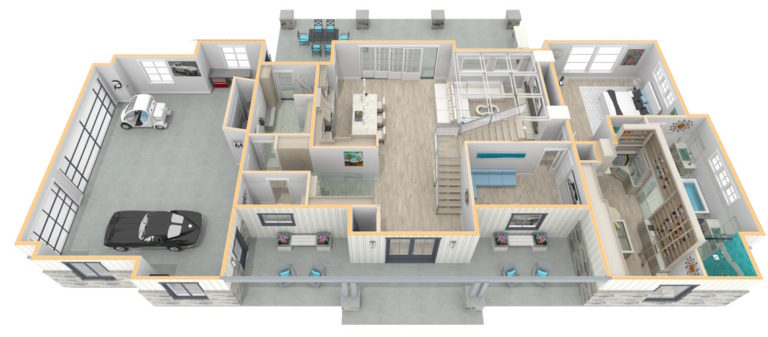
A lot of thought and consideration will go into your shower design, and you may want to see what it looks like before purchasing any materials or hiring a professional. 3D design software, like Home Designer Software for DIYers or Chief Architect Premier for professionals or advanced DIYers, can help you plan and visualize your new shower. This can help ensure the shower will be exactly how you want it, saving you money in the long run.
Designing your dream shower is an opportunity to blend functionality, comfort, and style into your bathroom. By thoughtfully planning the layout, fixtures, features, materials, and lighting, you can create an efficient and comfortable space for years to come. Start designing your dream shower today!

 By
By 
