The information in this article applies to:

QUESTION
I want to have a wall oven and a warming drawer in the same cabinet. How can I do this?

ANSWER
Easily insert multiple appliances into a single cabinet by using the Cabinet Specification dialog.
To modify the height and width of the cabinet
- Select Build> Cabinet> Full Height Cabinet
 and click in your plan to place a cabinet at the location where you clicked.
- Use the Select Objects
 tool to select the cabinet and click the Open Object
  edit button to display the Full Height Cabinet Specification dialog.
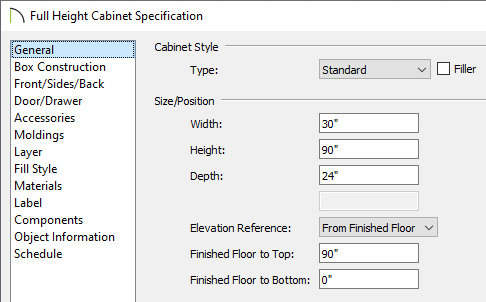
- On the General panel, specify the Width, Height, Depth and Floor to Bottom values for your cabinet.
To add Face Items to the cabinet
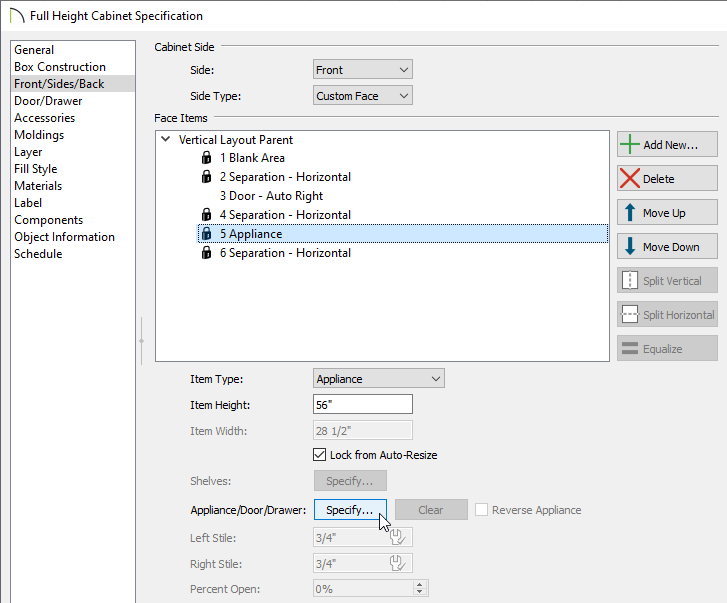
- On the Front/Sides/Back panel of the Full Height Cabinet Specification dialog, click on the top Face Item within the 3D preview and adjust the Item Height to your liking.
- With the top Face Item still selected, click the Add New button to add additional Face Items to the cabinet.
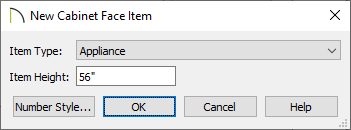
- In the New Cabinet Face Item dialog, set the Item Type and Item Height, then press OK.
- Use the Move Up and Move Down buttons to re-order the face items as necessary.
To modify individual sections to have different appliances
- Click on the Face Item you want to modify to select it, and then click the Specify button next to the Appliance/Door/Drawer section.
- In the Select Library Object dialog, browse the library and choose the appliance you wish to insert, then click OK.
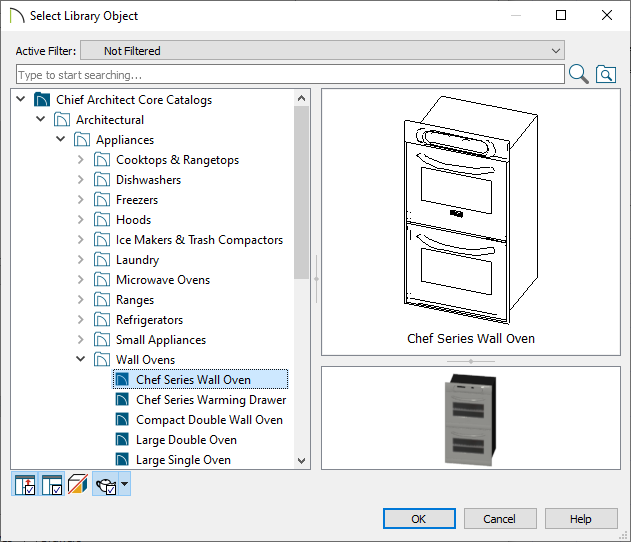
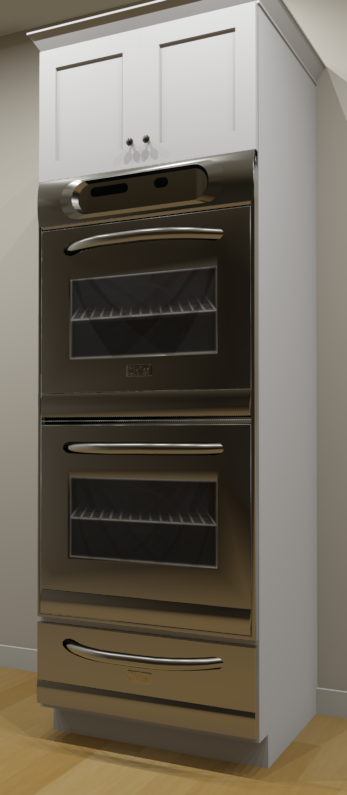
In this example, we browsed to Chief Architect Core Catalogs> Architectural> Appliances> Wall Ovens and chose the Chef Series Wall Oven.
- Back in the Full Height Cabinet Specification dialog, click on any other Face Items you would like to add appliances to and perform the same procedure.

In this example, we chose to insert the
Chef Series Warming Drawer at the bottom of the cabinet with an Item Height of 10 5/16".
- Finally, take a Camera
 view to see the results.


 and click in your plan to place a cabinet at the location where you clicked.
 tool to select the cabinet and click the Open Object
  edit button to display the Full Height Cabinet Specification dialog.


