The information in this article applies to:

What is the easiest way that I can add a retaining wall to my terrain?

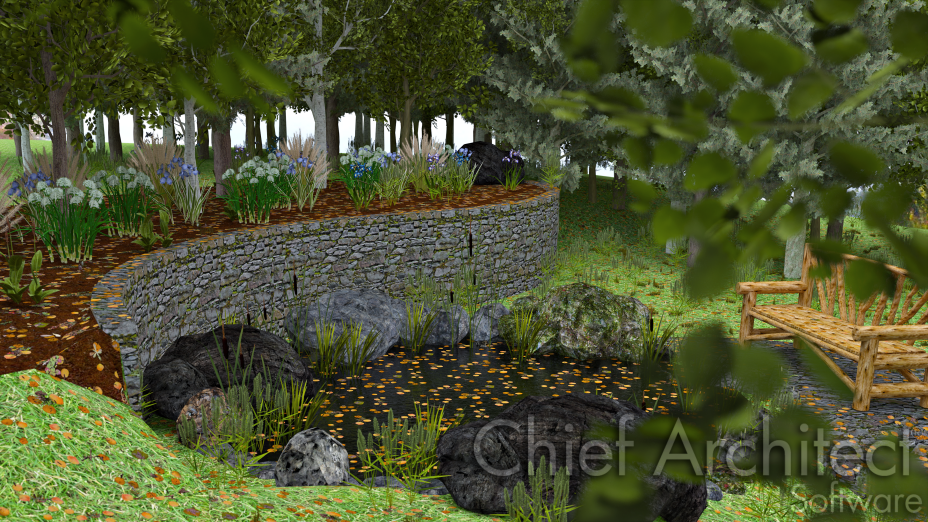
Use the Retaining Wall tool to easily place retaining walls in your terrain. Retaining walls are automatically drawn with footings and a terrain break, which creates a sharp drop in the terrain along the wall.
 the plan in which you would like to add a retaining wall.
 .
. tool is active, your cursor will turn into a cross and you can click and drag to create a retaining wall in the terrain.
 to apply the changes to your terrain.
 to see the retaining wall in a camera view.