The information in this article applies to:

QUESTION
I want to be able to create a custom walk-in shower in my bathroom. How can I create the transition from one material to another within the same room?

ANSWER
The Material Region tools are used to define a region on a floor or wall surface where the materials are different than the rest of the defined room area. They can contain several layers of materials, similar to walls and floors, for example a layer of mortar with tile on top.
In this article we will be creating a walk-in shower with tile on the walls within a bathroom.
Creating the shower
- Start by opening a New Plan
 .
.
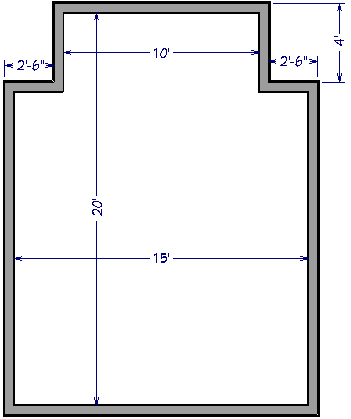
- Draw a basic bathroom layout as shown below:
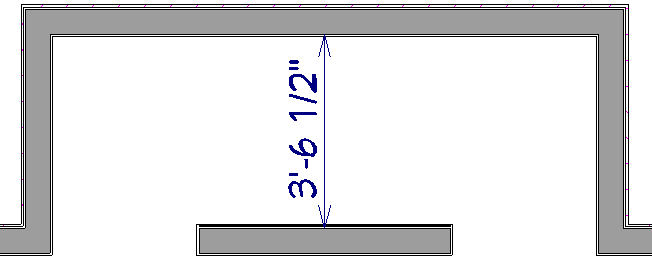
- Draw a wall separating the shower from the bathroom. In this example, a vapor barrier wall is used, as shown in the Knowledge Base article "Creating a Steam Shower" in the Related Articles section below.
Now we are ready to use the Material Regions to define new materials for the walls and floor.
Using the Material Regions
- Select Build> Floor> Floor Material Region
 from the menu.
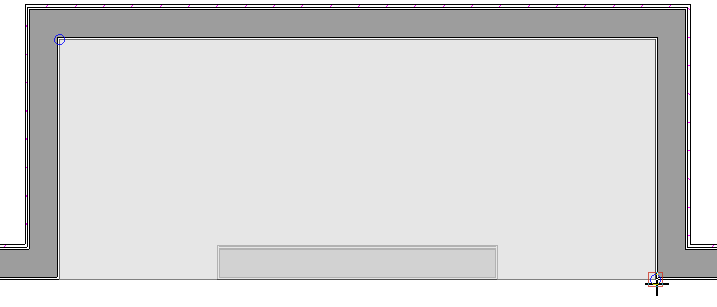
- Click and drag to draw a Material Region inside the new shower space.
- Select the Material Region and click Open Object
 to open the Material Region Specification dialog.
- Under the Structure panel, check the option to Cut Finish Layers of Parent Object as this will remove the finish layer from the floor and insert the material region's bottom-most layer in it's place.
- Click Edit and modify the layers of the floor material region as needed.
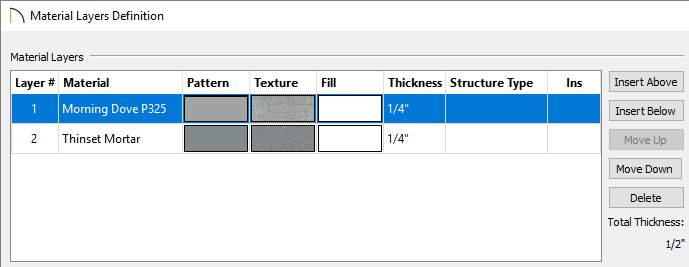
In this example we are using two 1/4" thick layers: the top(1) layer is Tile and the bottom (2) layer is Thinset Mortar.
The tile material used here is called Morning Dove P325 and can be found in the DalTile® Manufacturer Catalog.
- Click OK and OK once again to apply your changes and close the dialog boxes.
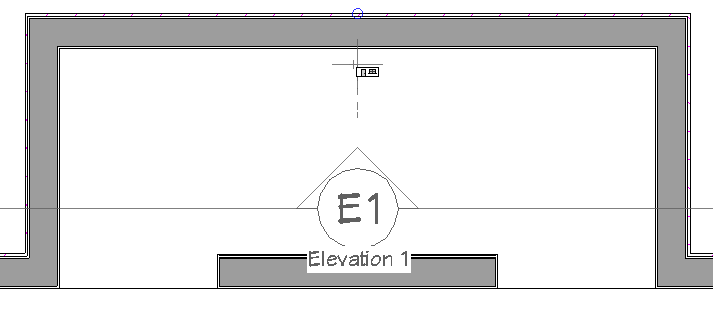
- Select 3D> Create Orthographic View> Cross Section/Elevation
 and create a cross section/elevation view looking at the back wall of the shower.
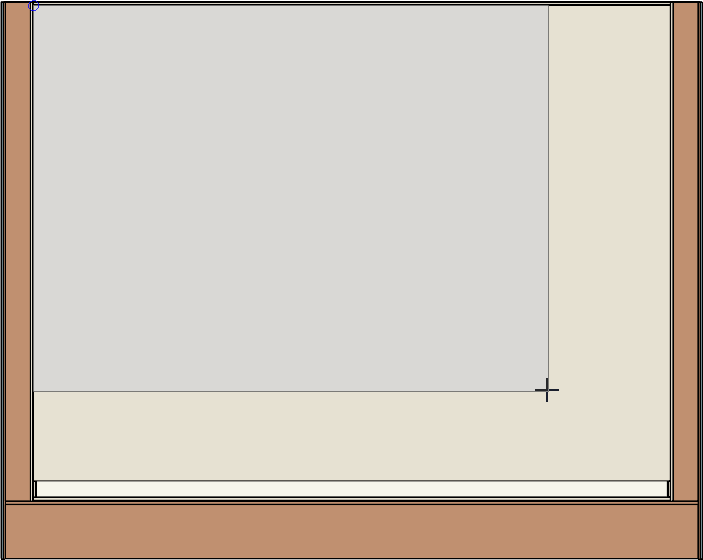
- In the cross section/elevation view, select Build> Wall> Wall Material Region
 from the menu.
- Draw a new material region over the wall.
- Repeat Steps 4, 5 and 6 for the two side walls of the shower.
You can now customize the shower however you like. The material region tools can be used to create material transitions or areas within a room without the need to add any additional shapes or objects that may change the structure of the room or building.


 .
.

 from the menu.
 to open the Material Region Specification dialog.
 and create a cross section/elevation view looking at the back wall of the shower.
 from the menu.