The information in this article applies to:

QUESTION
I have a large area that needs to have smaller office spaces within that have ceilings shorter than the main area. How do I create these shorter areas, while being able to create storage space above?

ANSWER
Smaller, shorter rooms with storage above can be created within a larger room by using a second floor. For example, if the larger room is going to have 18' ceilings and the smaller rooms will have 9' ceilings, you would create the first floor with a 9' ceiling height and the second floor could be 9' minus the thickness of the ceiling structure of the smaller rooms.
To create the first floor
- Select Edit> Default Settings
 from the menu.
- Select Floors and Rooms> Floor Levels> 1st Floor, then click the Edit button.
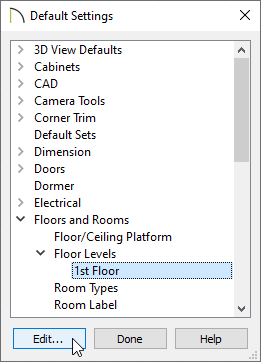
- In the 1st Floor Defaults dialog, specify the desired Ceiling height on the Structure panel.
For this example, 109 1/8" is used.

-
Click OK and Done to close the dialogs.
- Select Build> Wall> Straight Exterior Wall
 , then click and drag to draw out the exterior walls.
For this example, a 45' x 45' structure is drawn.
- Select Build> Wall> Straight Interior Wall
 and then click and drag to draw the interior walls of the space.
For this example, two 12 'x 12' rooms are drawn.

To create the second floor
- Select Build> Floor> Build New Floor
 from the menu.
- In the New Floor dialog that appears, select the Derive new 2nd floor plan from the 1st floor plan option, then click OK.
- In the 2nd Floor Defaults dialog, specify the Rough Ceiling height as well as the Floor Structure for the storage space above the smaller rooms.
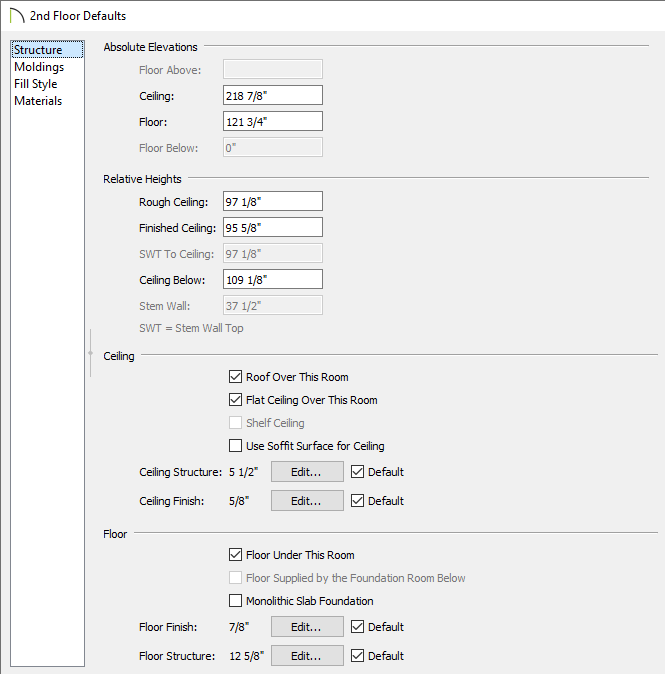
-
Click OK when done to apply the changes and close the dialog.
- With the second floor now active, select Tools> Floor/Reference Display> Reference Display
 to turn on the Reference Display feature so that you can see the placement of the walls on floor 1 while working on floor 2.
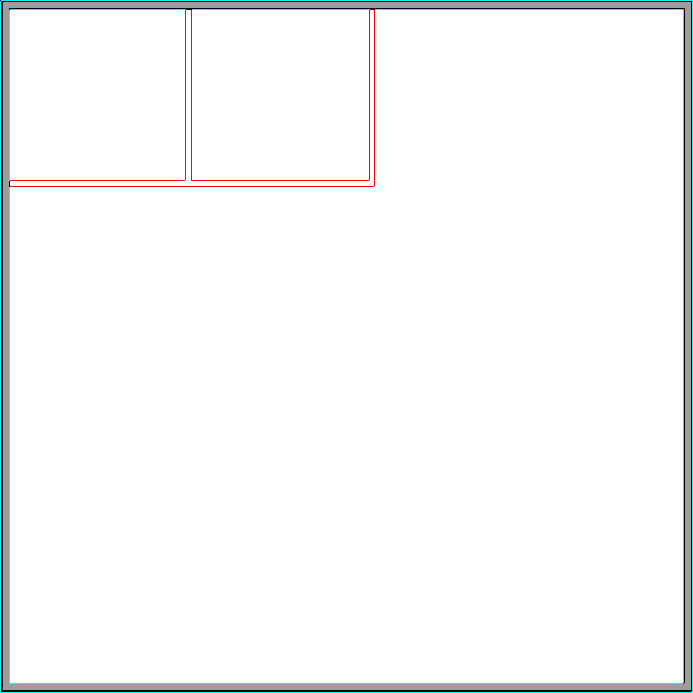
- Select Build> Railing and Deck> Straight Railing
 and click and drag to draw a railing on top of the 1st floor interior walls along the storage area perimeter.
- Select Tools> Floor/Reference Display> Reference Display to turn off the reference floor display.
There should now be two rooms on the second floor: the smaller storage area above the interior rooms and the big room over the larger area.
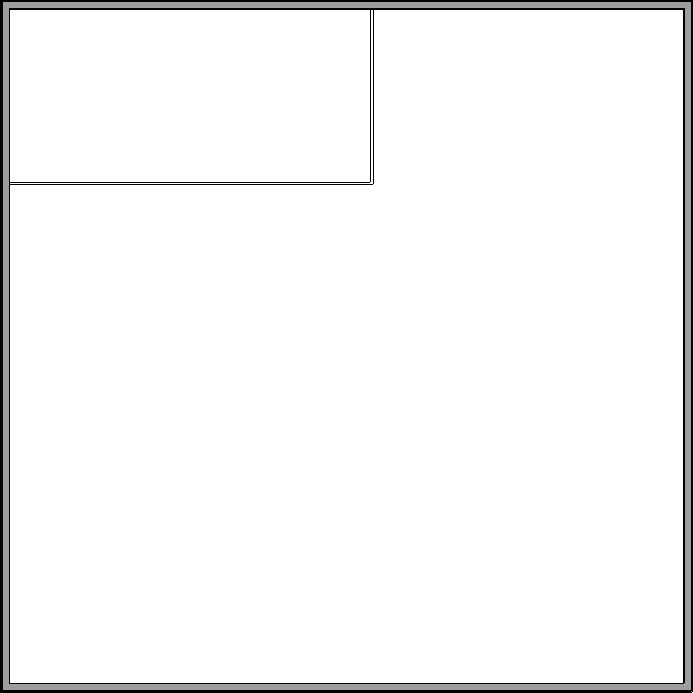
- Using the Select Objects
 tool, select the larger room on floor 2, then click the Open Object
  edit button.
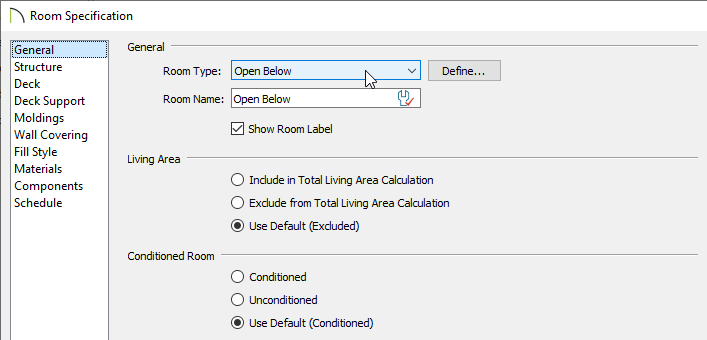
- On the General panel of the Room Specification dialog, use the drop-down menu beside Room Type to select Open Below, then click OK.
- Take a Camera
 view to see the results.
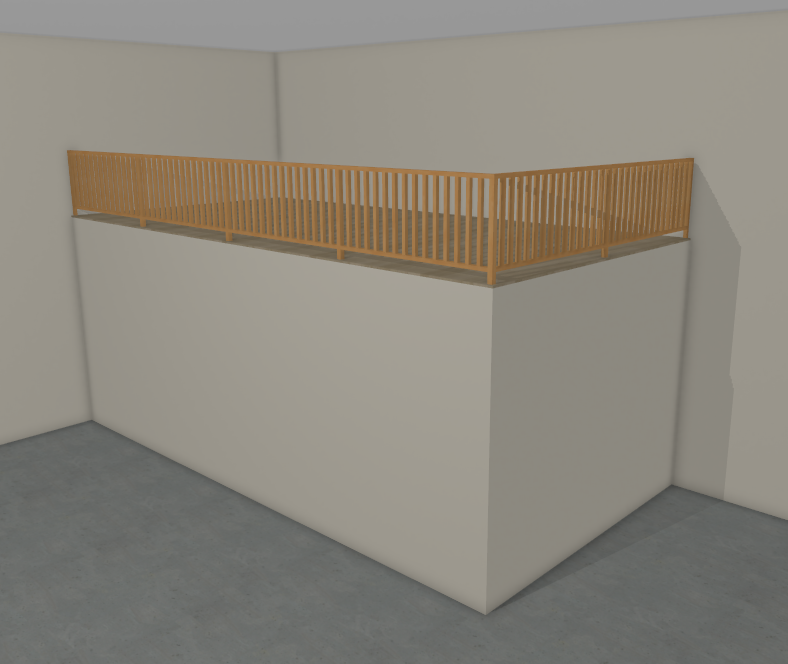
A staircase can now be added going up to the storage area, and doors and windows can be added to the interiors rooms located on the first floor.