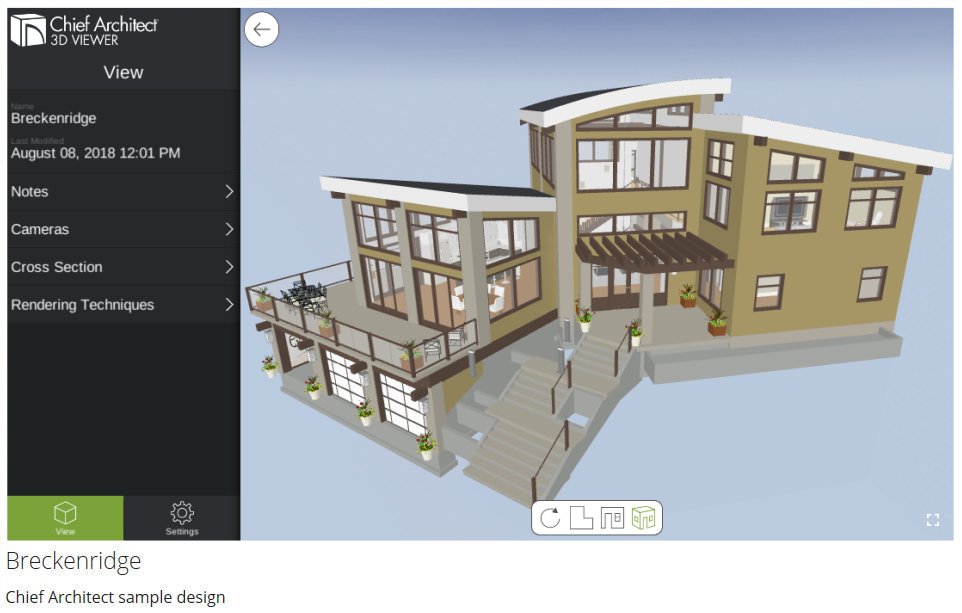
You can navigate the exterior and interior of a model using any of three modes.

When a model is opened, its newest saved Camera is active and the View panel is open on the left. If the model has no saved Cameras, a 3D Overview  will initially be active instead. You can Hide
  the sidebar to maximize the view window.
Tap the 3D Overview  icon to enter an overview of the model's exterior.
 icon.
icon.Click or tap the Room View  icon to enable additional options for navigating the model's interior using Chief Architect® Sojourn®.
3D Viewer has three Rendering Techniques: Basic, Standard, and Glass House. Basic is the default mode and represents materials on object surfaces using solid colors. Standard displays photo-realistic textures such as wood grain on object surfaces as well as image objects like plants, but requires more memory. Glass House displays the model using semi-transparent surfaces and edge lines and also requires more resources than Basic rendering.
You can switch between Rendering Techniques in the View menu. Depending on the size of the model, the app may need to switch back to Basic mode automatically.
Tap the Information  icon to the right of Glass House to set the surface Color and level of Transparency. Toggling Horizon Lines off can improve performance in Glass House mode.
Shadows are not used in Glass House mode but can be toggled on or off in both Basic and Standard modes in Settings  , under View.
The Anti-Aliasing option improves the appearance of angled edge lines, but can be toggled off to improve 3D Viewer's performance in Settings  , under View.
Users of Chief Architect desktop software, version X12, can export models with light sources in saved cameras. The default Maximum Light value is 5, but you can increase this value to as many as 10 in Settings  , under View.
To improve 3D Viewer's performance or if you encounter a notification warning of poor performance, these tips may help.