The information in this article applies to:

How do I create furred walls in my basement?
Furred walls are useful for finishing a basement area and to provide room for insulation. This can easily be represented using the furred wall setting.
Alternatively, you may find it more effective to define a wall type with multiple framing layers. For more information on this process, please see the "Defining a New Wall Type" resource in the Related Articles section below.
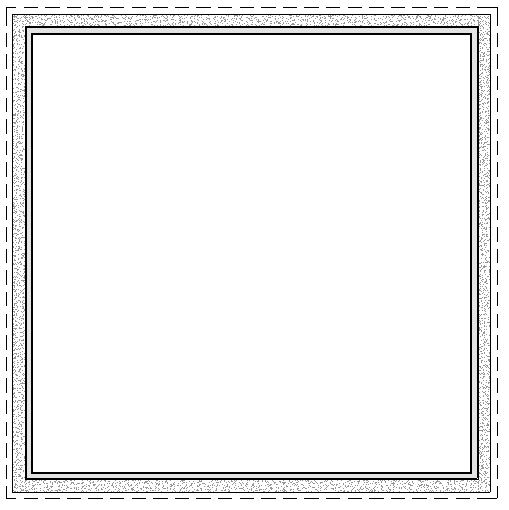
 from the menu, specify your desired settings within the Build Foundation dialog, then click OK.
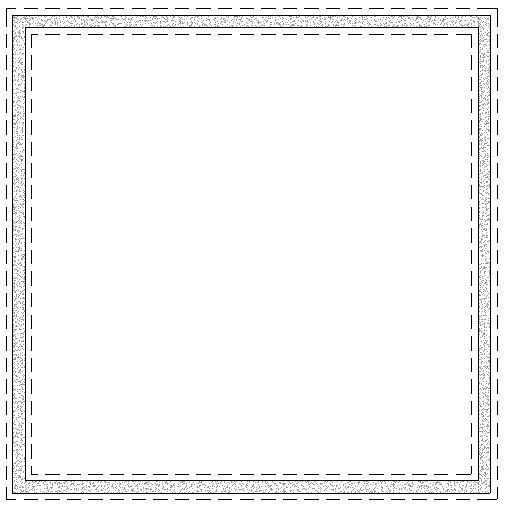
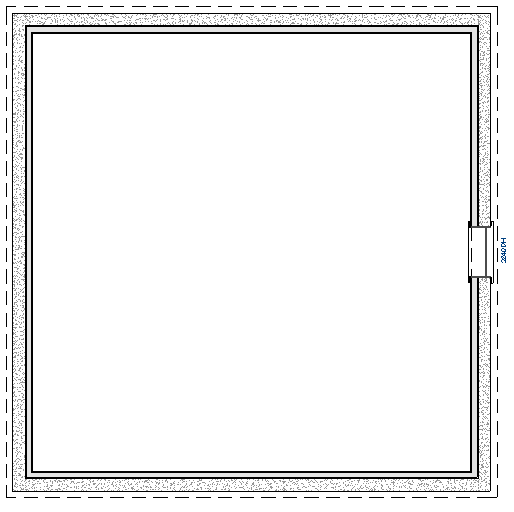
 , then draw interior walls parallel to the foundation walls.
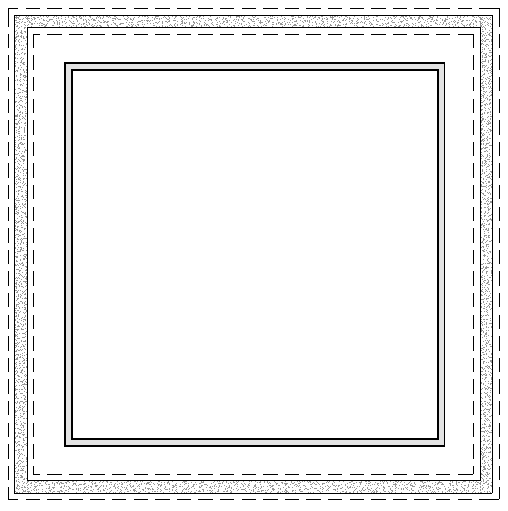
 tool, hold down the Shift key on your keyboard, click on each of the interior walls to group select them, then click the Open Object
  edit tool.
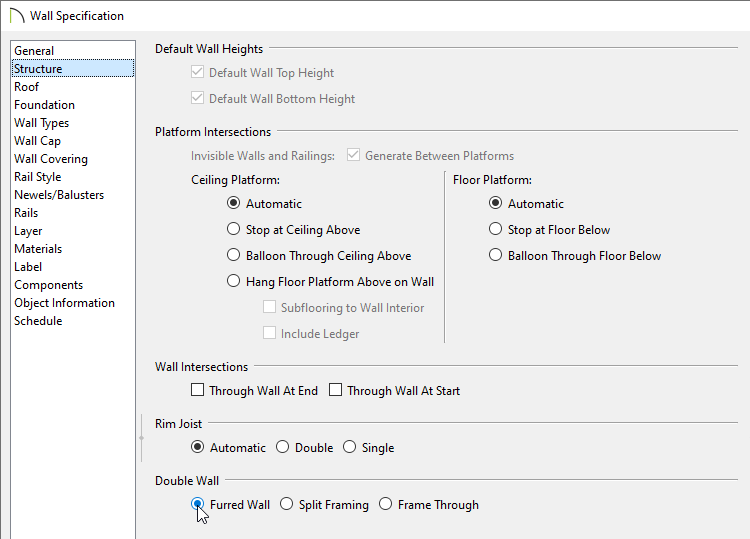 tool, select each interior wall and Move