The information in this article applies to:


How do I create flared stairs and stairs with curved treads?

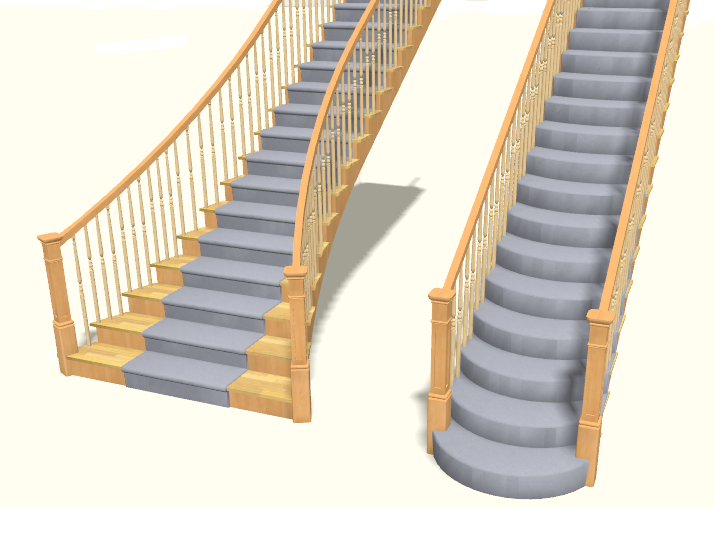
Both flared stairs and stairs with curved treads can be created easily using the Flare/Curve Stairs edit tool.
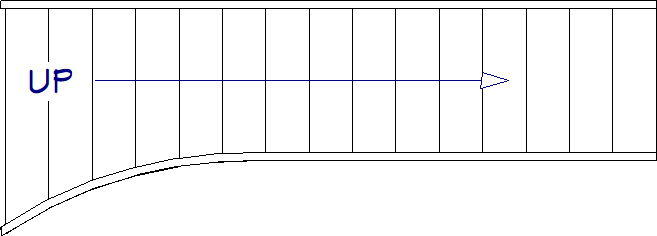
Flared stairs grow wider near one end, typically sweeping outward at the bottom. Stairs can also be flared at the top or on both ends.
 from the menu, then click and drag to draw a staircase.
  edit button.
For additional control over the various fields within this dialog, you may want to adjust the settings under the Advanced Options section. Please review your program's documentation for additional information.
 edit button.


Use the dimension information that displays in the Status Bar as a reference to create symmetrical flares on both sides.

Only exposed sides of a stair section can be flared. If one side of a stair section is against a wall or wrapped, only the exposed end can be flared.

*Applies to Chief Architect Premier, Chief Architect Interiors, and Home Designer Pro only.
If you would like to create a flare with a specific chord and radius, first draw the desired arc using the CAD drawing tools for use as a reference. While it isn't possible to specify a staircase with this exact information, you can model it closely and display an annotation with the desired measurements
The steps below describe how the arc of a flare can be defined. The same tools can be used to define the arc of a curved tread, as well.
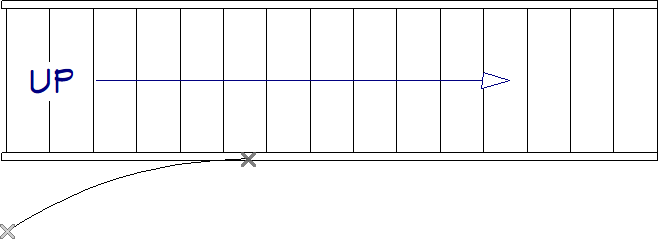
 from the menu, then click and drag three lines:
 cursor displays, then click on the temporary dimension that displays.
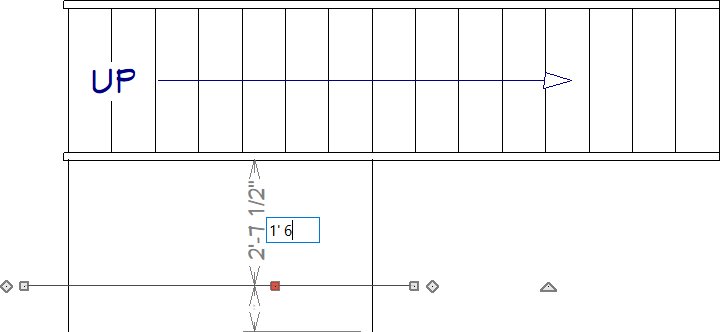
 from the menu to turn this feature on, then try again.
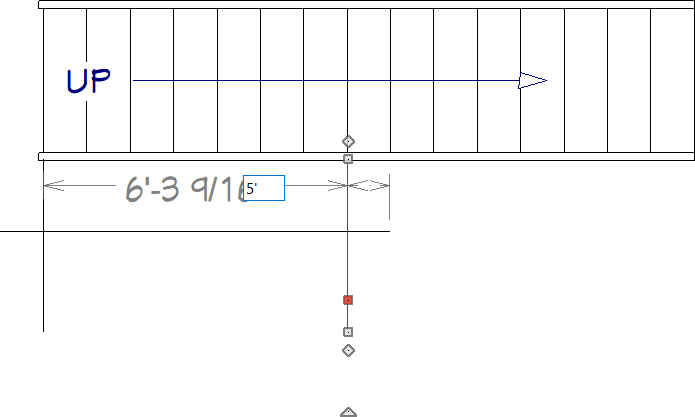
 from the menu, then click once at the point where the first and second lines meet, and once where the third line meets the edge of the staircase.
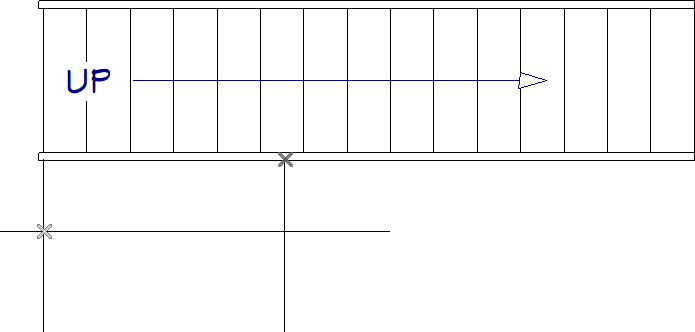
 are enabled.
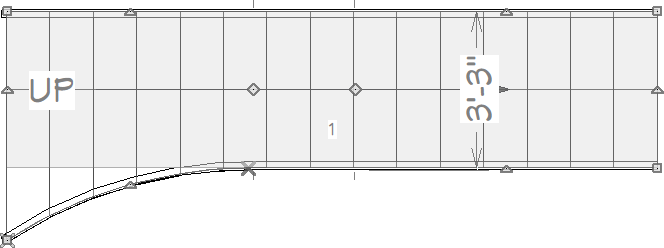
 tool, click on each of the CAD lines and Delete
  them.
them. from the menu, then click and drag an arc beginning on one CAD point and ending on the second one.
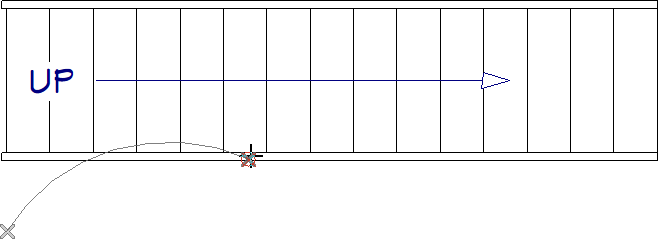 edit button.
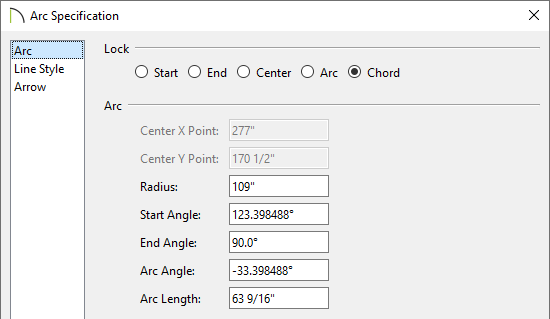
 edit button.
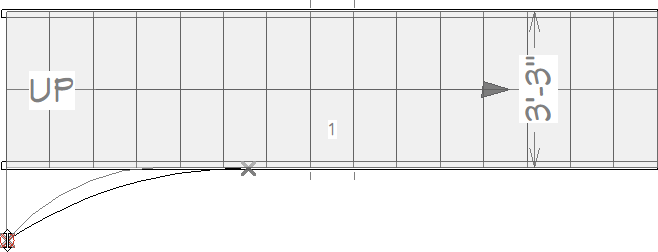
 to delete the points. edit button, and on the Line Style panel of the Arc Specification dialog, check the Show Length box, then click OK.