The information in this article applies to:

QUESTION
I would like to create a split level entry to a house. How can I do this?

ANSWER
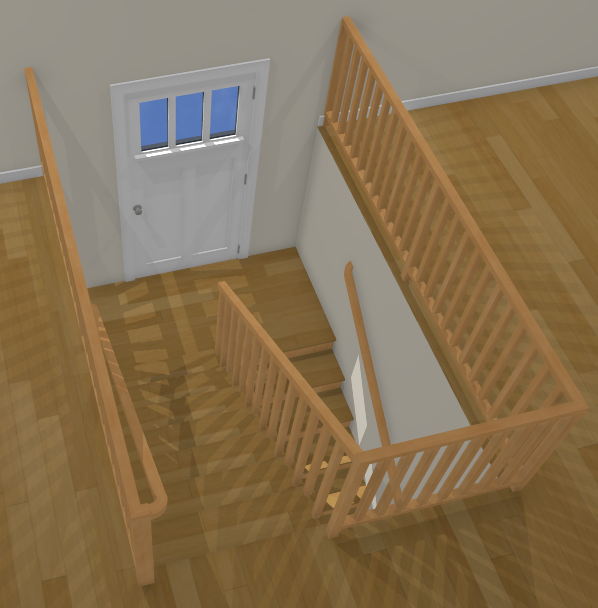
A split level entry consists of a landing with a floor height between the first floor and the basement. This kind of entry can be created using the Build Foundation and U-Shaped Stair tools.
For the purposes of this example, we will walk through creating this scenario in a basic plan, and you can then take that knowledge and apply it to your own designs.
To create each floor level
- Click File> New Plan
 , select Build> Wall> Straight Exterior Wall
  from the menu, then draw a basic rectangular structure.
In this example, a structure that measures 30' x 40' is created.
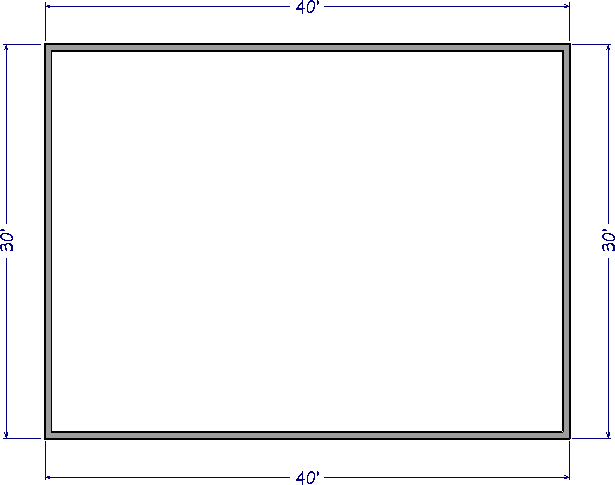
- Next, select Build> Floor> Build Foundation
 from the menu.
-
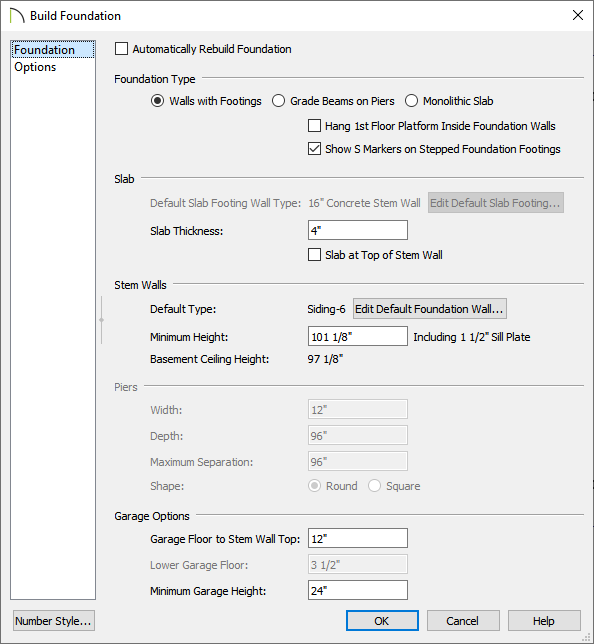
On the Foundation panel of the Build Foundation dialog that opens:
-
Select Walls with Footings under the Foundation Type.
-
You may want to change the wall type that is used for the foundation. To do so, select the Edit Default Foundation Wall button to open the Foundation Wall Defaults, and on the Wall Types panel, choose your desired Wall Type(s).
In this example, we specified a pony wall with a Siding-6 wall type for the upper portion, and 8" Concrete Stem Wall for the lower portion.
To learn more about pony walls, see the "Drawing a Pony Wall" resource in the Related Articles section below.
-
Under the Stem Walls section, specify a Minimum Height sufficient for a full height basement.
In this example, a value of 101 1/8" is used, giving us a Basement Ceiling Height of 97 1/8", as shown in the image above.
-
Click OK.
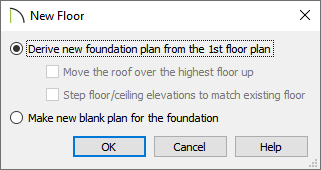
- In the New Floor dialog that displays next, select Derive new foundation plan from 1st floor plan, then click OK.
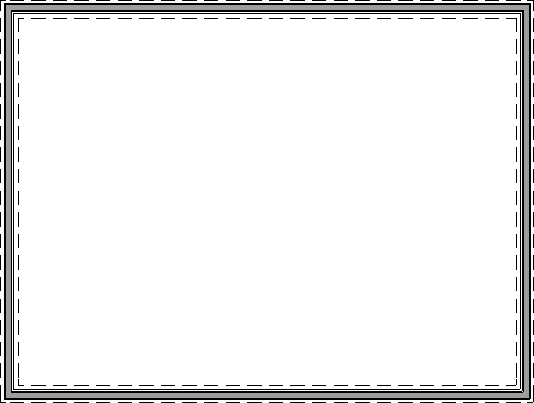
- Your foundation may now look similar to the following image if you have specified pony walls:
To create the staircase
- While Floor 0 (foundation) is the active floor, select Build> Stairs> U-Shaped Stair
 , and in the New Shaped Staircase dialog that displays, choose the Default Direction, specify a Gap value if one is desired, then click OK.
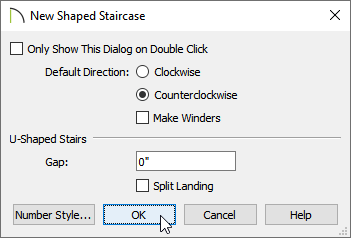
- You will notice that a U-shaped staircase is now following your cursor. Hover the cursor along the wall that will be used for the entry, move the cursor towards the center of the structure until the landing is oriented correctly, then click to place the staircase.
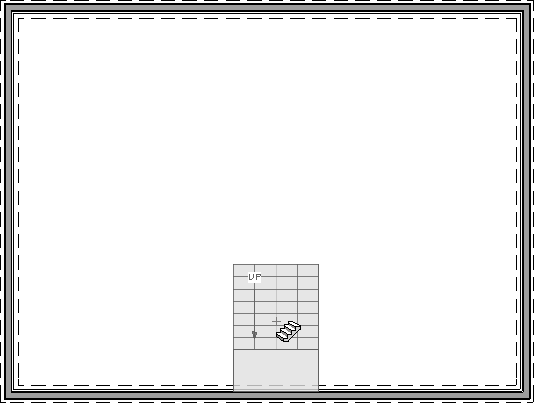
- With the staircase now in place, select one of the stair sections and click the Auto Stairwell
 edit tool to generate a stairwell on the 1st floor.
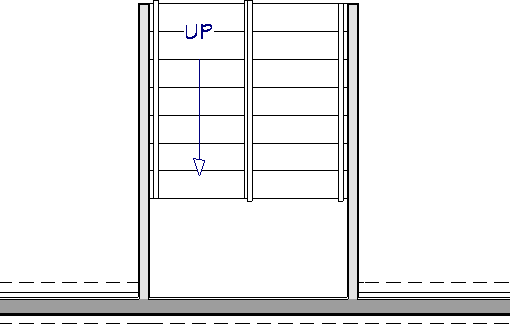
- We will now enclose the entryway. On Floor 0 (foundation), navigate to Build> Wall> Interior Wall
 , then draw interior walls on either side of the landing, as well as any walls underneath the staircase.
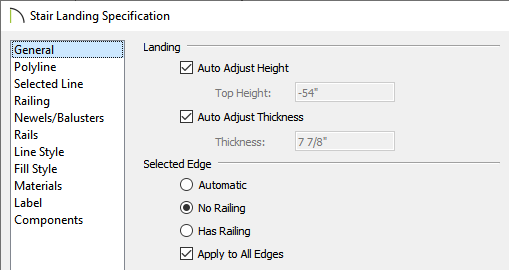
- If any railings are still present on the landing, click on an edge of the landing, click on the Open Object
 edit button to open the Stair Landing Specification, and on the General panel, select No Railing, check Apply to All Edges, then click OK.
Railings that are part of a staircase can also be controlled by accessing the Railings panel located in the Staircase Specification dialog.
Additionally, railings can be added to staircases manually using the Straight and Curved Railing tools. For more information, please see the "Manually Adding Railings to a Staircase" resource in the Related Articles section.
- Select Build> Door> Hinged Door
 and place an entry door. Once placed, Open
  it to specification, and adjust the Floor to Bottom value so it lines up with the landing.
- Take a Camera
 view to see the results.


 , select Build> Wall> Straight Exterior Wall
  from the menu, then draw a basic rectangular structure.
 from the menu.


