The information in this article applies to:

QUESTION
I need to create a tub deck surround for a drop-in tub. How can I achieve this?

ANSWER
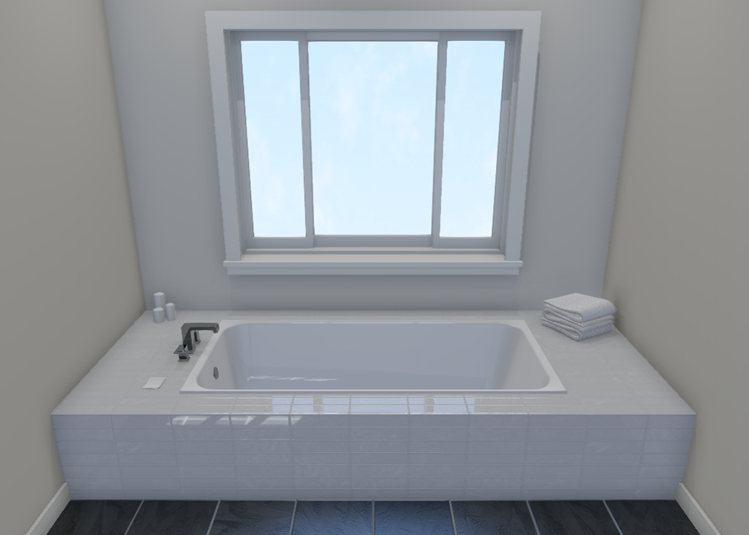
In Chief Architect, we have a number of drop-in tub symbols that can be placed in plans, as well as a number of tools to create a surround. In this article, we will create an enclosure using half-walls and a custom countertop.
To place a drop-in tub
- Navigate to View> Library Browser
 if the library isn't already open, and browse to Chief Architect Core Catalogs> Architectural> Plumbing Fixtures> Bathtubs> Drop-In Tubs.
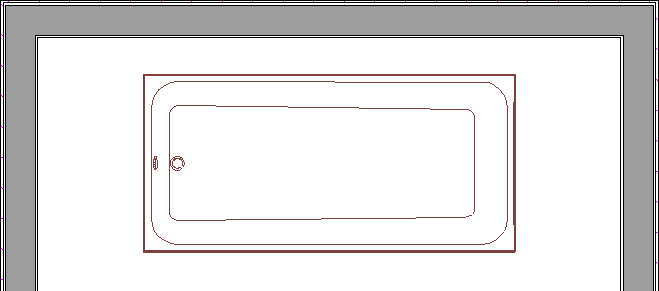
- Select one of the drop-in tubs, then click once in the plan to place the selected tub.
In this example, we are using the Standard Tub from the library.
- Keeping the tub selected, click the Open Object
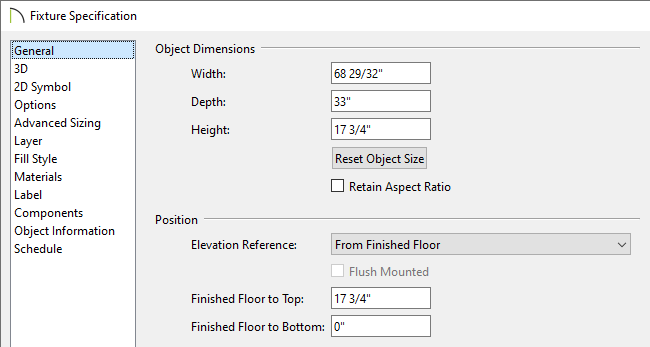
 edit tool, and in the Fixture Specification dialog that displays, take note of the size and elevation of the tub, then click OK.
This would also be a good time to make changes to the size and elevation of the tub if different values are desired. However, in this example, the values are unchanged.
To create the enclosure
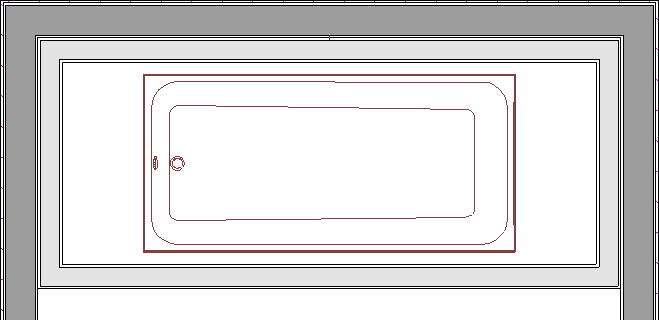
- Navigate to Build> Wall> Straight Half-Wall
 from the menu, then draw an interior rectangle that will serve as the supportive enclosure for the tub.
- Using the Select Objects
 tool, select one of the half-walls, click the Open Object
  edit tool, and in the Railing Specification dialog that displays:
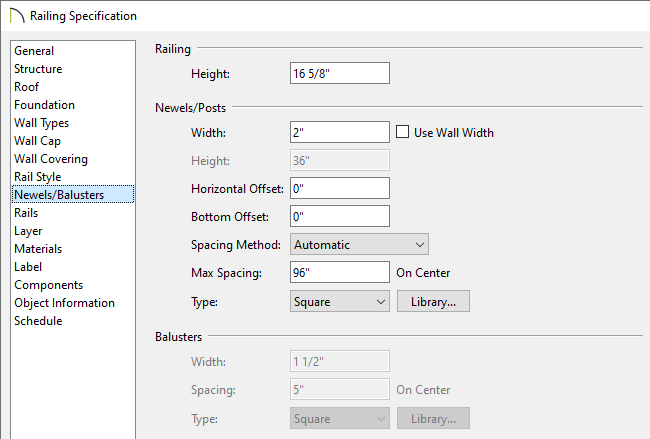
- On the Wall Cap panel, select the Wall Cap Profile if one is specified, then click the Delete button.
- On the Newels/Balusters panel, set the desired Height of the half-wall. Make sure to account for the thickness of the top surface that will be created a bit lower in this article.
In this example, we have set the Height to 16 5/8".
- On the Materials panel, select the Exterior Wall Surface component, click the Select Material button, and choose a material from the library to apply to the wall's exterior surface.
- Click OK to confirm the changes and close the dialog.
- Perform this same procedure for the three remaining walls.
- We are now ready to construct the top surface of the enclosure. Select Build> Cabinet> Custom Countertop
 from the menu, then click and drag to create a rectangle that encompasses the tub and the four half-walls.
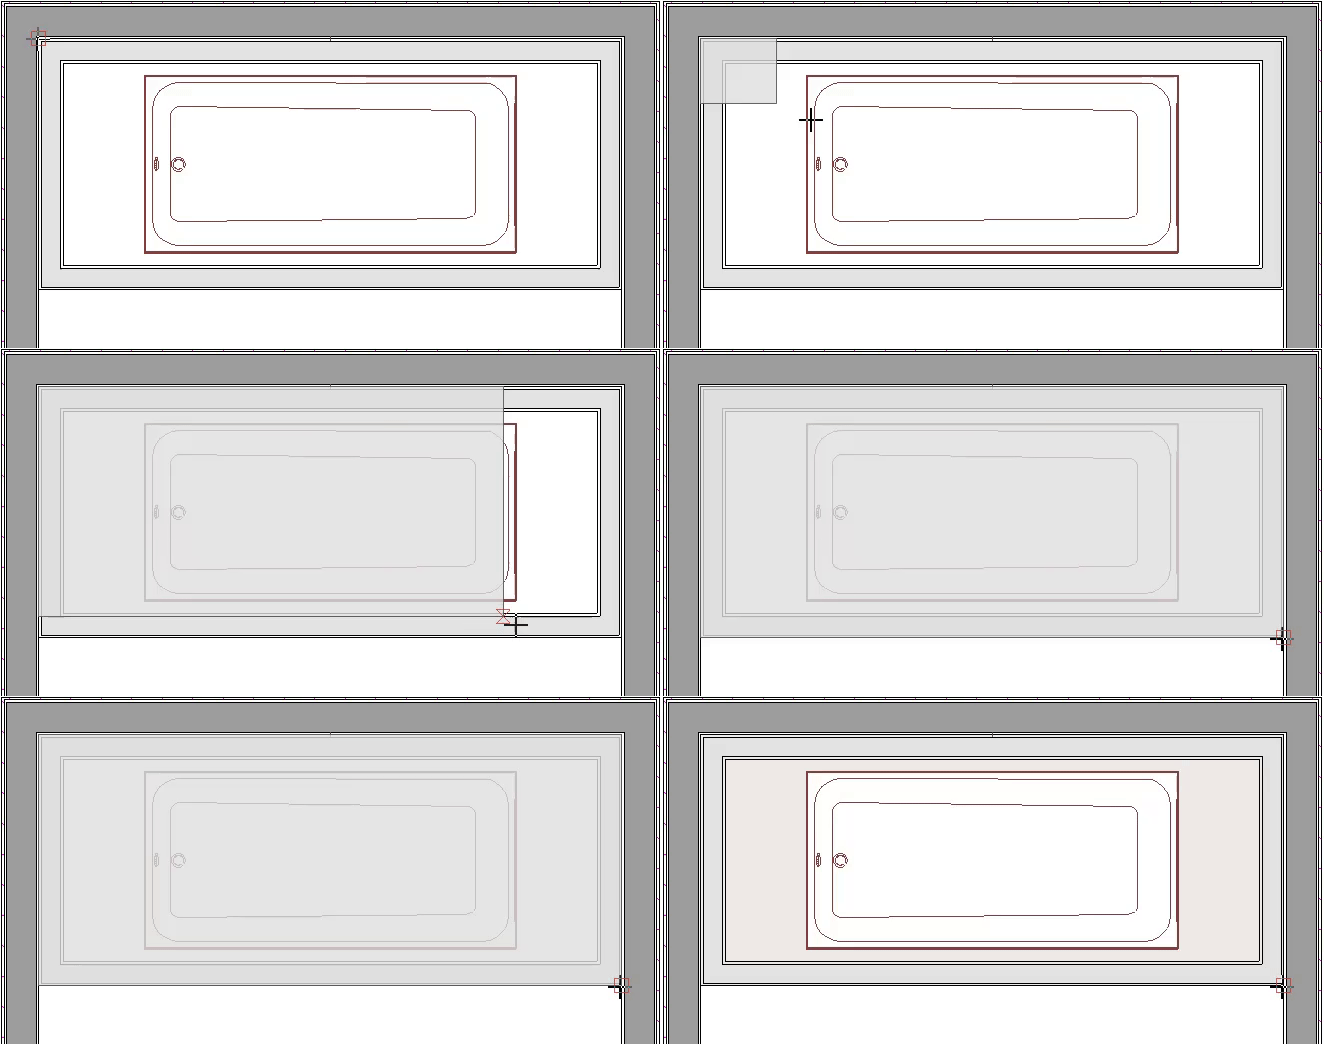
- Once the countertop is placed, select it using the Select Objects
 tool, click the Open Object
  edit tool, and in the Custom Countertop Specification dialog that displays:
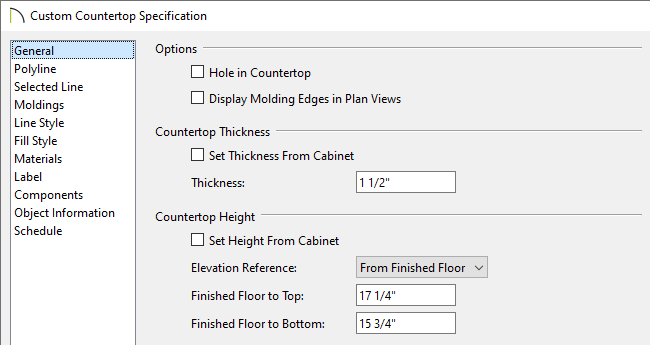
- On the General panel, uncheck Set Thickness From Cabinet and specify a desired Thickness.
In this example, a Thickness of 1 1/2" is specified.
- Uncheck Set Height From Cabinet and specify the Finished Floor to Top/Bottom value.
In this example, the Elevation Reference is set to From Finished Floor, and the Finished Floor to Bottom value is set to 15 3/4".
- Change the material of the countertop on the Materials panel.
- Click OK to confirm the changes and close the dialog.
- Navigate to Build> Cabinet> Custom Counter Hole
 and create a hole that spans the width and depth of the tub.
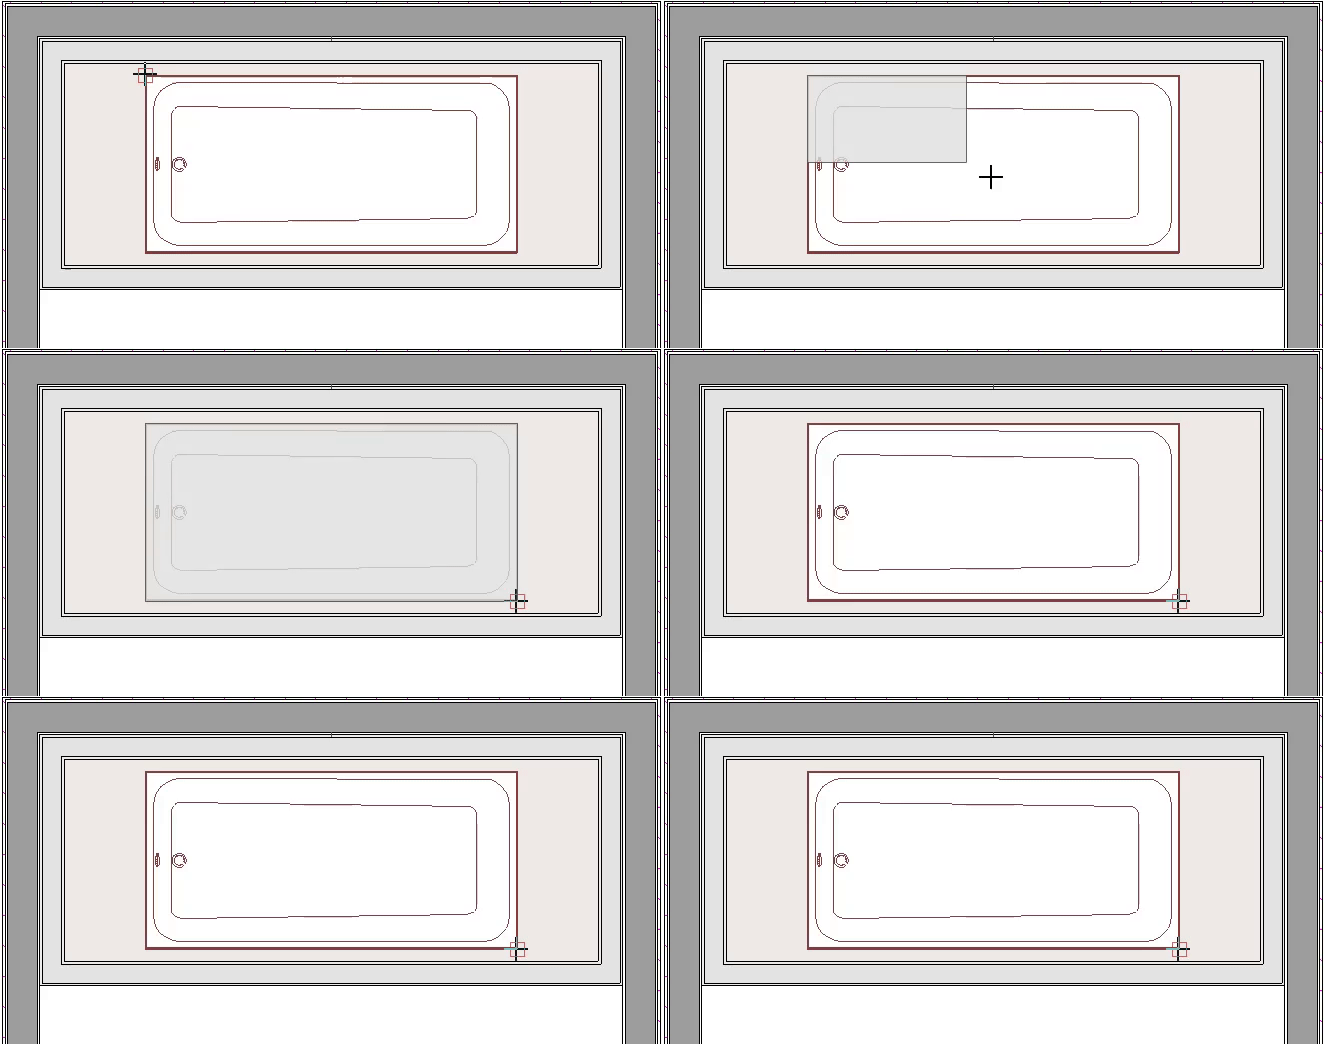
- Lastly, add a faucet, along with any additional fixtures and accessories from the Library Browser
 , generate framing using the Build Framing
  or Build All Framing
  tool, then take a Camera
  view to see the results.
