The information in this article applies to:

QUESTION
I need to create a bullnose verandah on the front of my building. How can this be accomplished?

ANSWER
The Roof tools allow you to create a bullnose, or curved roof, for your house or verandah.
In this article, we will walk through the steps for creating a bullnose verandah on the front of a simple home using the Curved Roof setting.
Creating the verandah or covered porch
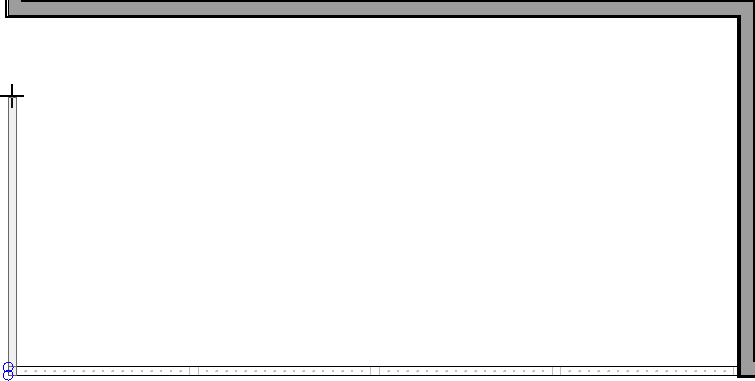
- Start by selecting Build> Wall> Straight Railing
 from the menu, and draw the outline of your verandah.
- Select the exterior room you just created and click the Open Object
 edit button to open the Room Specification dialog:

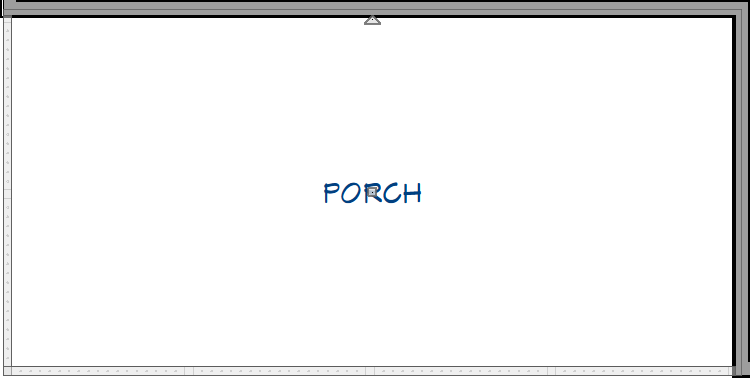
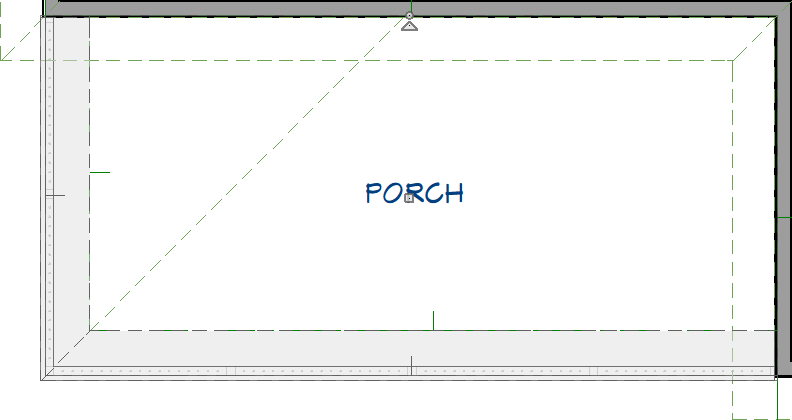
- On the General panel, set the Room Type to Porch.
- Under the Structure panel, change the Rough Ceiling to a height that is lower than the main house to prevent the roof planes from merging together.
In this example, the main structure has a Rough Ceiling of 13' (157 1/8"), while the porch has a default value of 9' (109 1/8").
- Check the Roof Over This Room and Use Soffit Surface for Ceiling boxes.
- Click OK.
- With the Select Objects
 active, hold down the Shift key on your keyboard, click on each railing to group select them, then click the Open Object edit button.
To learn more about group selecting objects, please refer to the Related Articles section below.
- On the Roof panel of the Railing Specification dialog that displays:
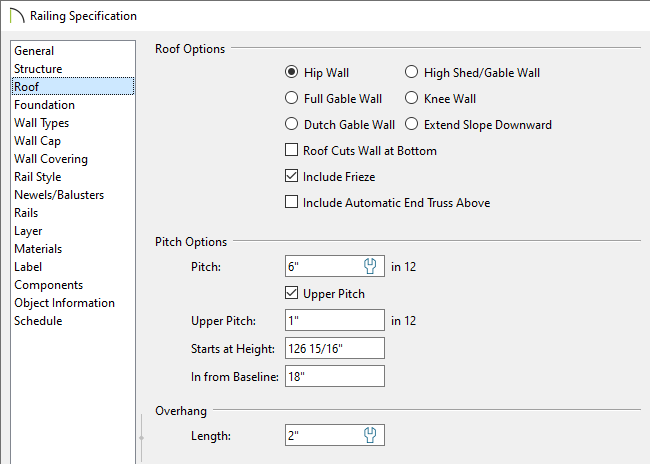
- Set the Pitch to 6" in 12" (26.5°).
- Check the Upper Pitch box.
- Set the Upper Pitch to 1" in 12" (4.5°).
- Set the In from Baseline distance to 18" (457mm).
- Adjust the Overhang Length to any desired distance.
In this example, 2" is used.
- Click OK.
- Select Build> Roof> Build Roof
 from the menu.
- In the Build Roof dialog that displays, check the Build Roof Planes box and, uncheck Auto Rebuild Roofs if it's checked, then click OK.
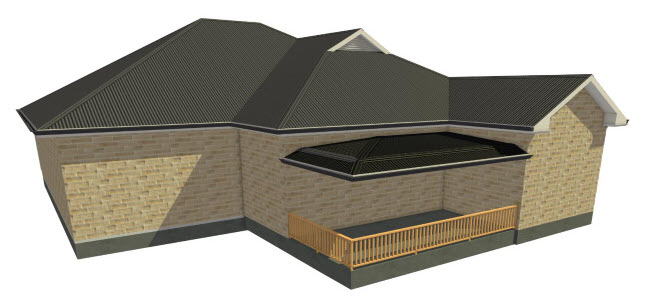
- Create a Camera
 view to see the roof so far.
Adding the bullnose
- With the Select Objects tool active, hold down the Shift key on your keyboard, group select the two lower roof planes over the porch, then click the Open Object edit button.
- On the General panel of the Roof Plane Specification dialog that displays:

- Under the Height/Pitch section, Lock the Ridge Top Height.
- Check the Curved Roof box.
- Set the Angle at Eave to 45°.
- Click OK.
- Create a Camera view to see the results.