QUESTION
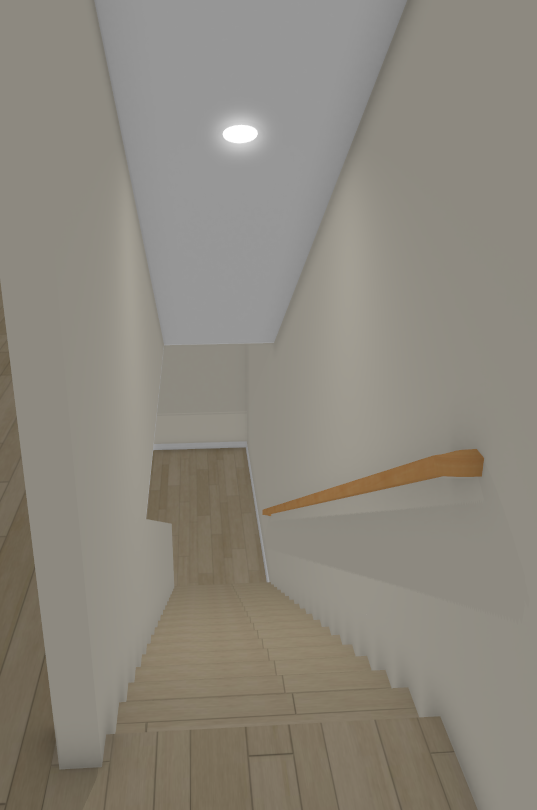
I need to generate a sloped ceiling above a staircase that extends to the floor above. What is the best way to create this in Chief Architect?
ANSWER
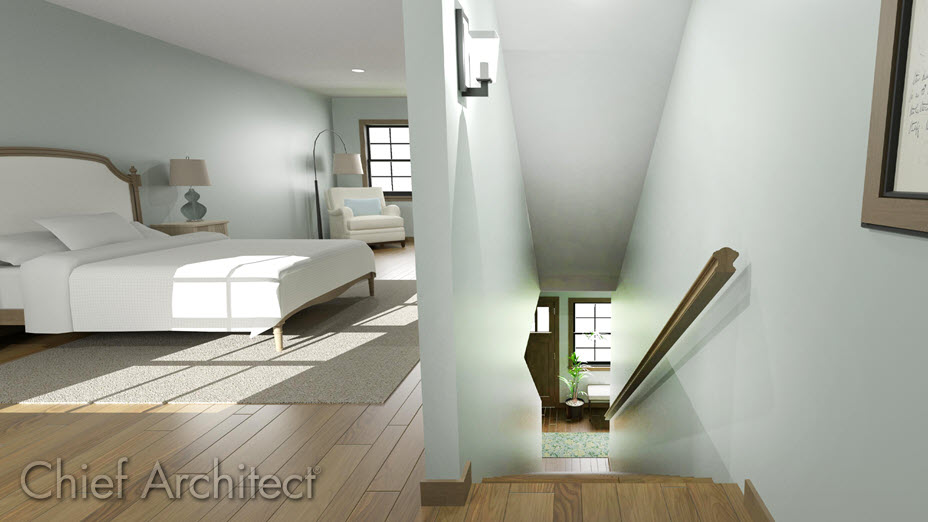
Creating a sloped ceiling above a staircase can be accomplished using a custom ceiling plane and modifying the height and pitch.
To create a sloped ceiling plane above a staircase
- Start by creating your desired staircase using one of the Stair
 tools.
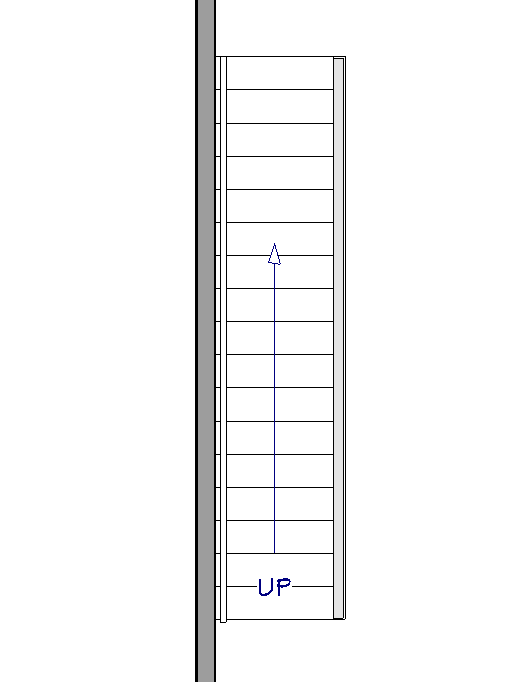
In this example, a straight staircase is created on floor 1. A wall has also been created beside the stair that follows the rise angle.
To create walls and/or railings that start at the floor and follow the rise of the staircase, please see the "Creating a Stair Rake Wall" resource in the Related Articles section below.
- If an additional floor has not yet been created for the staircase to connect to, navigate to Build> Floor> Build New Floor
 to generate an additional floor level.
- Select Down One Floor
 to navigate down to floor 1, click on the staircase using the Select Objects
  tool, then click on the Open Object
  edit tool.
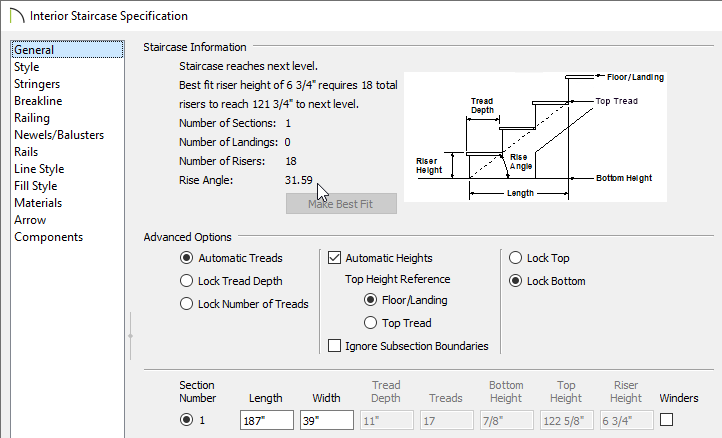
- In the Staircase Specification dialog that opens, make any desired adjustments to the staircase. Once the stair is to your liking, take note of the Rise Angle that is mentioned on the General panel, then click OK.
- With the staircase still selected, click on the Auto Stairwell
 edit tool to create an automatic stairwell, then navigate Up One Floor
  to see the railings and stairwell room that the program created.
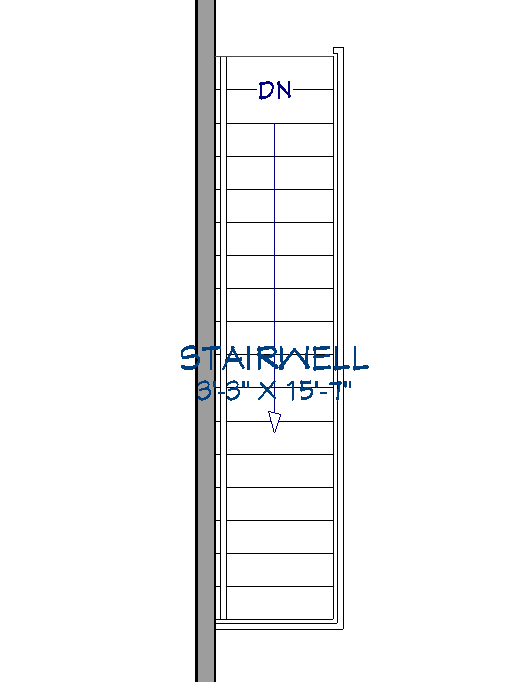
- In some cases, you may want to have framed walls encompassing the stairwell, or maybe a combination of walls and railings. To convert the automatically generated railings to walls, select them using the Select Objects
 tool, click on the Open Object
  edit tool, then make the following adjustments in the Railing Specification dialog:
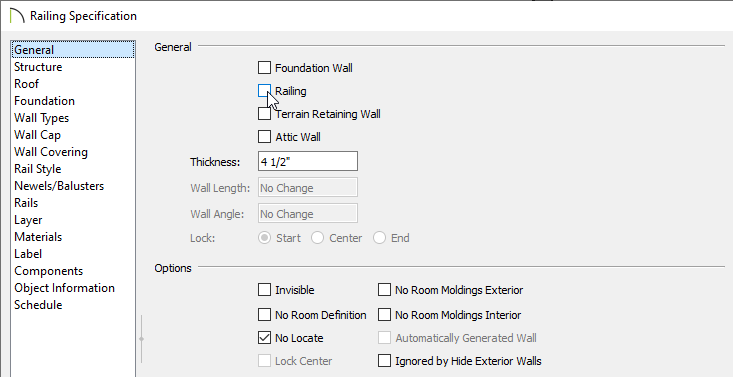
- On the General panel, uncheck the Railing and No Locate boxes if you want to create full-height walls.
If you want to create half-walls, leave the boxes above checked, but set the railing to be Solid on the Rail Style panel.
In this example, we have converted the railings to full-height walls.
- On the Wall Types panel, use the Wall Type drop-down to choose an appropriate wall type from the list.
In this example, the Interior-4 wall type is selected.
- Make any other desired adjustments, such as to the Materials, then click OK.
The Add Break edit tool can also be used to break a wall/railing into separate segments that can be edited individually. This is useful if you would like to create a scenario where a railing leads directly into a full-height wall.
- Next, navigate to Build> Roof> Ceiling Plane
 and draw a ceiling plane starting at the bottom of the stairwell and stopping at the top, making sure to encompass the wall or railing that is directly beside the stairwell.
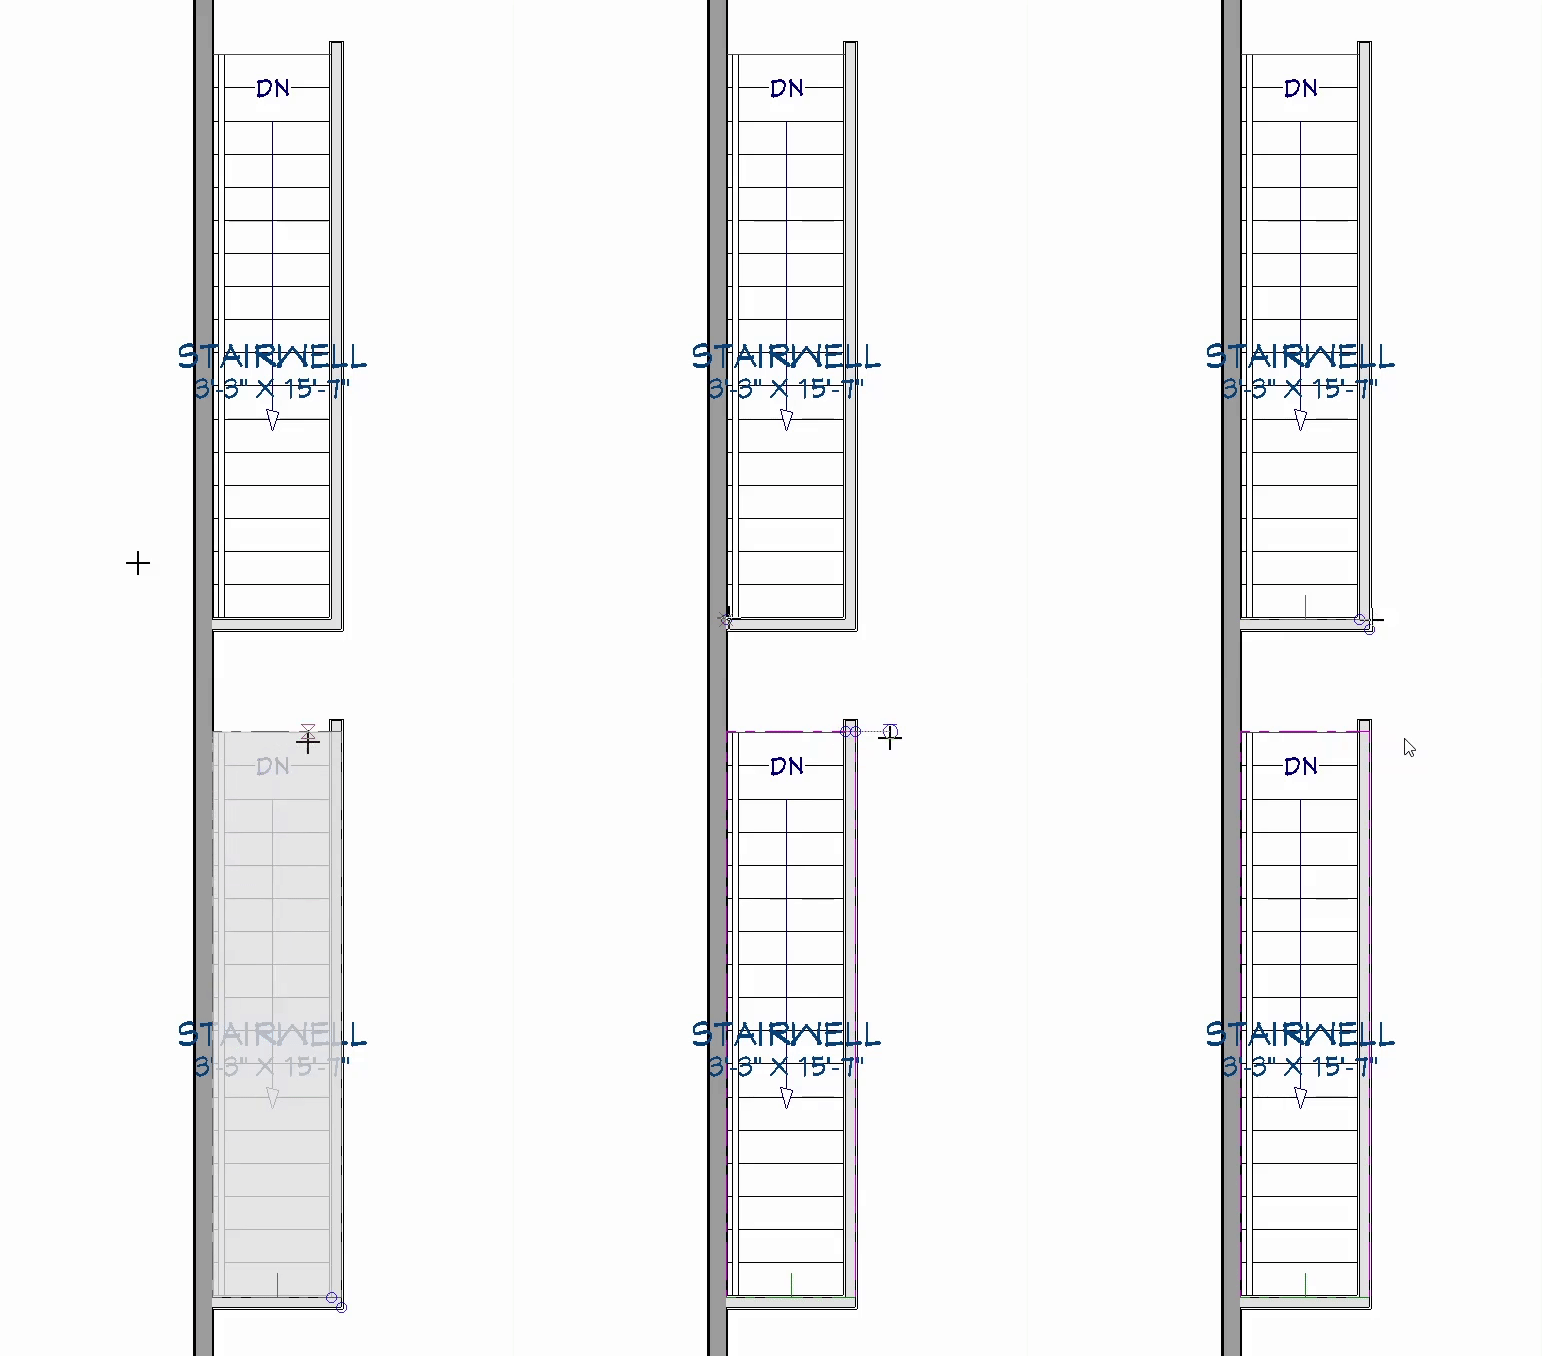
- With the ceiling plane created, select it using the Select Objects
 tool, then click on the Open Object
  edit tool.
- On the General panel of the Ceiling Plane Specification dialog that displays:
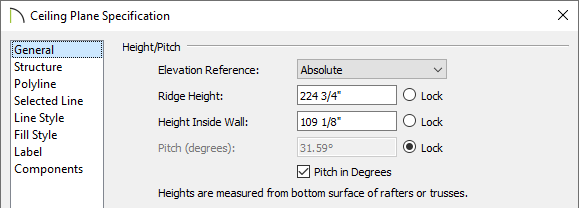
- Check the Pitch in Degrees box.
- In the Pitch (degrees) field, enter the value that was mentioned in step 4 above, then select the Lock radio button.
- Set the Height Inside Wall value to be equal to the ceiling height of the room the staircase was created within.
In this example, a value of 109 1/8 is specified.
- Make any other desired adjustments to the ceiling plane, such as to its Structure, then click OK.
- Take a Camera
 view to see the results.
