The information in this article applies to:

I have a CAD detail, a single CAD object, or text that I would like to be able to use in more than one plan. How do I add these to the library for future use?
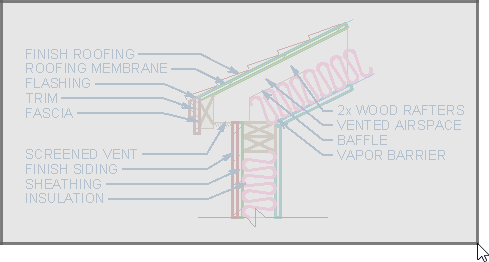
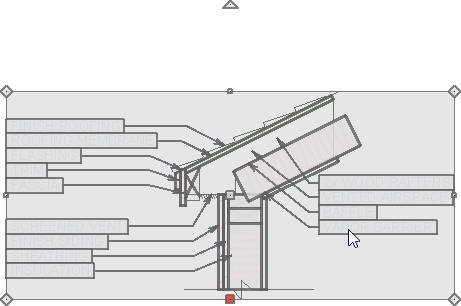
Before you can add CAD components to the User Catalog, a block must be created using the Make CAD Block edit tool. Once a CAD block is created, use the Add to Library edit tool to add it to the User Catalog for future use.
Text objects can be added directly to the User Catalog without the need for them to blocked first. To do so, simply select one or more text objects, then click the Add to Library edit tool.
In Chief Architect X16 and newer, CAD details can be directly copied and pasted between plans using the Project Browser. To do so, navigate to the desired CAD detail in the Project Browser, right-click to copy and then navigate to the other plan in the Project Browser and right-click to Paste CAD Detail.
 tool, click and drag a selection marquee around a CAD object, a CAD detail, or multiple CAD/text based items.
 edit tool. Once the text is added, right-click on it and choose Rename to give it a new name.
 edit button to convert your selection to a CAD block.
If you do not see the Make CAD Block edit button, then check to make sure your detail does not contain any architectural objects. Only CAD, images, text, and dimensions can be contained within a CAD block.

 edit button to add it to the User Catalog. With the block added, right-click on it and choose Rename to give it its own unique name.
 edit tool to allow for editing. Once you have made your desired changes, block the components together once again and add the newly customized block back to the User Catalog.