QUESTION
I would like to add curved stairs or add a spiral staircase to my plan. How can I do this?

ANSWER
Curved staircases can be created in Chief Architect using the Curve to Left and Curve to Right stair tools. In addition to these tools, straight staircases can be curved by holding down the Alt or Option key on your keyboard. Spiral staircases are best created using the Spiral Staircase objects located in the library.
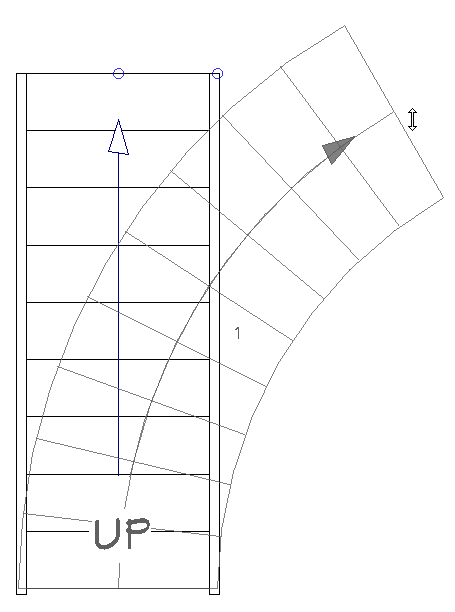
To use the curved stair tools
- Select Build> Stairs> Curve to Left
 or Curve to Right
  from the menu, then click once in a floor plan to add curved stairs at that location.
- To move, resize, or rotate the stairs, click the Select Objects
 tool, select the stairs, and use the edit handles that display to adjust the stair to your liking.
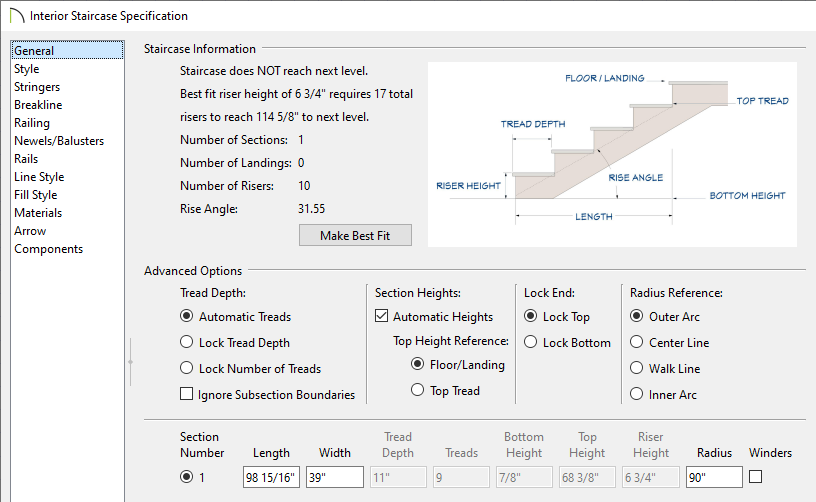
- In X15 and newer versions, a Radius Reference can be set for curved stair sections, and you can specify a value using the Radius input field located within the Staircase Specification.
- In X16 and newer versions, once you have made stylistic changes to your staircase, you can add it to your User Catalog for future use. Landings, as well as complete stair configurations, cannot be added to the library.
For more information, please see the appropriate resource in the Related Articles section below.
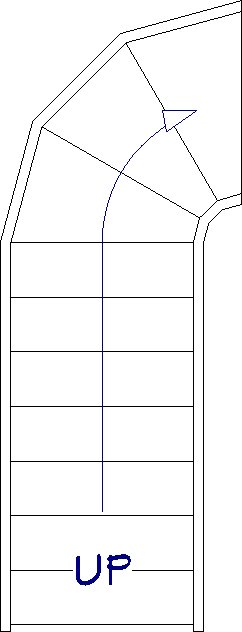
To curve a straight staircase
- Select Build> Stairs> Draw Stairs
 from the menu, then click and drag to draw a run of straight stairs.
- Using the Select Objects button, click on the staircase to select it.
- With the staircase selected, hold down the Alt key on your keyboard if you're on a Windows PC or the Option key if you're on a Mac, left-click on the top or bottom edit handle located on the staircase, then drag the edge in any direction to curve the staircase.
Multiple stair segments can also be connected to each other. Try placing one stair segment and then creating another from the end point of the first. Once done, curve one of the segments, and notice that the additional, connected stair remains unchanged.
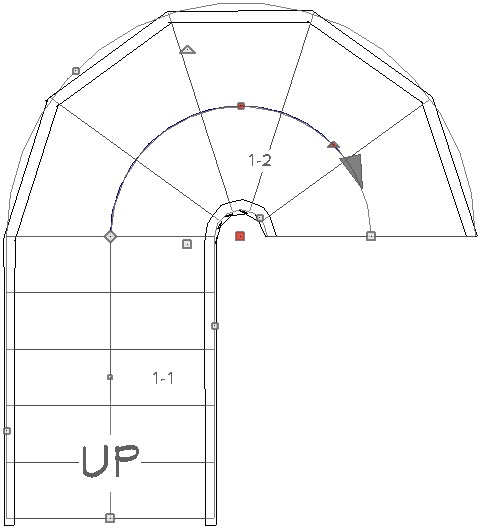
Stairs can also be broken into multiple segments with the Add Break  tool. Segments are denoted by their segment number and have separate edit handles for each section.
In X16 and newer versions, once you have made stylistic changes to your staircase you can add it to your User Catalog for future use. Please see the appropriate resource located in the Related Articles section below to learn more.
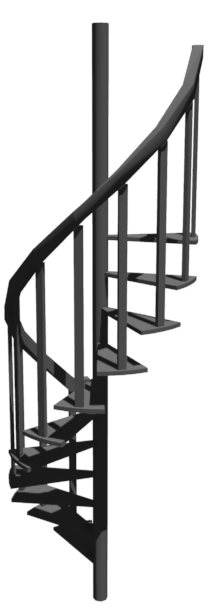
To place a spiral staircase from the library
- If it's not already open, select View> Library Browser
 to open the library, then browse to Chief Architect Core Catalogs> Architectural> Staircases> Spiral.
- Click on one of the spiral staircases to select it.
- When you move your cursor into the drawing area, it will display the Fixtures (Interior)
 icon. Click once to place the selected spiral staircase at that location.
- Once placed, you can use the edit handles to move, resize, or rotate the staircase as desired.
- Finally, take a Camera
 view to see the results.
To create a stairwell, or opening, for your stairs to come up through, please see the appropriate resource located in the Related Articles section below.