QUESTION
How do I create an attic truss?

ANSWER
An attic truss is a type of roof truss with an open space at its bottom center to accommodate a living space, with webbing above and on either side of this living space.
In order to create an attic truss, certain conditions must be met in the plan:
- The structure must be wide enough and the roof steep enough to allow space for a loft area with attic rooms on either side of it. The loft area must have Attic rooms on both sides and must be separated from these Attic rooms by Knee Walls.
- The loft area cannot be on Floor 0 or Floor 1 - it must have a living space below it that has a flat ceiling.
- The roof must bear on the walls defining the floor below the loft area. It cannot bear on knee walls.
- Each side of the roof must be composed of a single roof plane forming a continuous slope with a single pitch from baseline to ridge.
- The loft area must have a flat ceiling.
To create the structure and build the roof
Because attic trusses require specific conditions to be met before they can be created, we'll begin by drawing a simple structure in a new file that meets those requirements.
- Select Build> Wall> Straight Exterior Wall
 from the menu, then click and drag to draw a rectangular structure.
In this example, a structure measuring 30' x 40' is used.
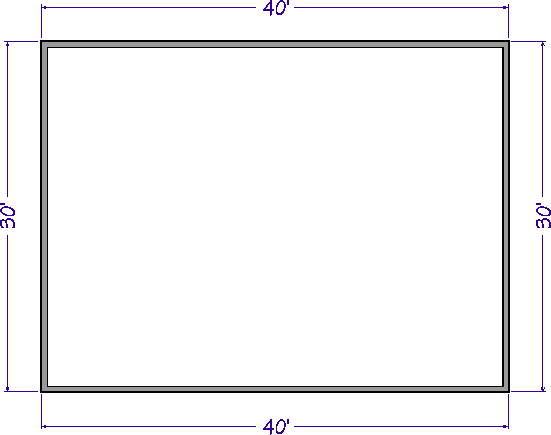
- Using the Select Objects
 tool, click on the vertical wall on the left to select it, then click the Open Object
  edit button to open the Wall Specification dialog.

- On the Roof panel, select Full Gable Wall, then click OK.
- Repeat this process with the vertical wall on the right, as well.
- Select Build> Floor> Build New Floor
 from the menu, and build a second floor derived from the 1st floor plan.
- Select Build> Roof> Build Roof
 from the menu, and on the Roof panel of the Build Roof dialog:
- Check the box beside Build Roof Planes or Auto Rebuild Roofs.
- Select the Trusses Framing Method, then specify an appropriate Heel Height.
In this example, a Heel Height of 12" is specified.
In X14, Home Designer Pro 2023, and prior versions, check the Trusses (no Birdsmouth) box instead, uncheck the Automatic Birdsmouth Cut box, then specify your desired values.
- Specify the Pitch (in 12) of the roof to be built.
In this example, a 12" in 12" pitch is used.
- Check the Ignore Top (2nd) Floor box.
- Specify any additional settings to your liking, then click OK to close the dialog and build the roof as specified.
Notice the dashed lines that now display in the 2nd floor room area in a floor plan view. These are ceiling break lines, which represent the division between the flat, full height ceiling in the center of the room and the low, sloped ceilings on either side. The area with the flat, full height ceiling is loft area that will be accommodated by the open space at the center of your attic trusses.
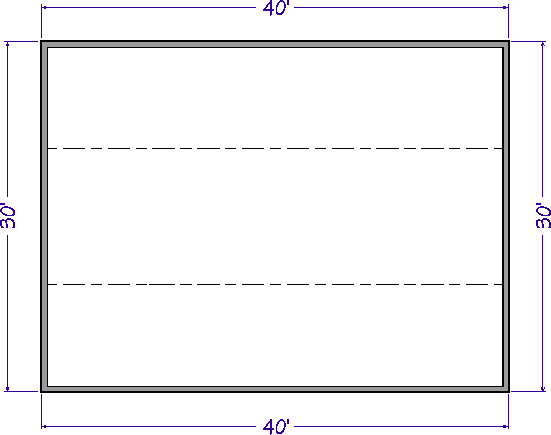
- Select Build> Wall> Straight Interior Wall
 from the menu, then click and drag two interior walls along the ceiling break lines.
- It's easiest to draw them near the ceiling lines, then move them into position after they are drawn.
- If you want, you can create a custom wall type with sheetrock on only one side if the rooms with the low ceilings are to be unfinished.
- Select the two interior walls and click the Open Object
 edit button to open the Wall Specification dialog. On the Roof panel, select Knee Wall to specify these walls as knee walls, then click OK.
- Next, using the Select Objects
 tool, click on one of the rooms with a low, sloped ceiling and click the Open Object
  edit button to open the Room Specification dialog.
- On the General panel, select Attic from the Room Type drop-down list.
- Repeat this process with the room on the other side of the loft area.
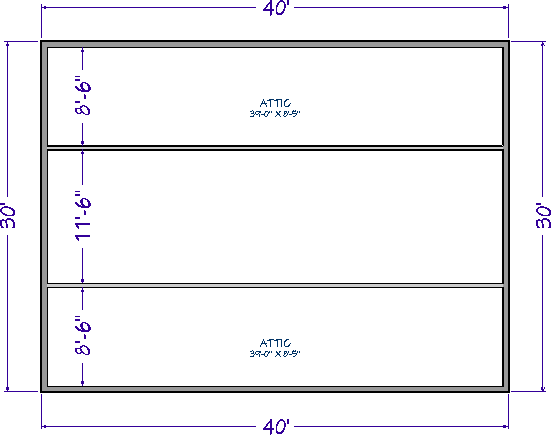
The conditions necessary to produce attic trusses are now in place.
To create attic trusses
- Select Build> Framing> Roof Truss
 from the menu, then click and drag a line that is perpendicular to the ceiling break lines and runs from exterior wall to exterior wall.
The resulting truss will automatically extend out to the eaves.
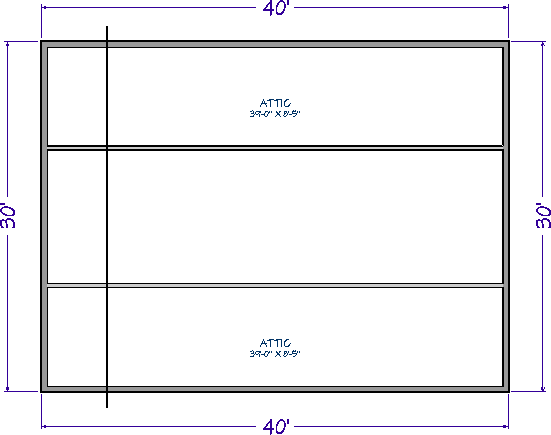
- Select the roof truss and click the Open Object
 edit button. On the General panel of the Roof Truss Specification dialog:
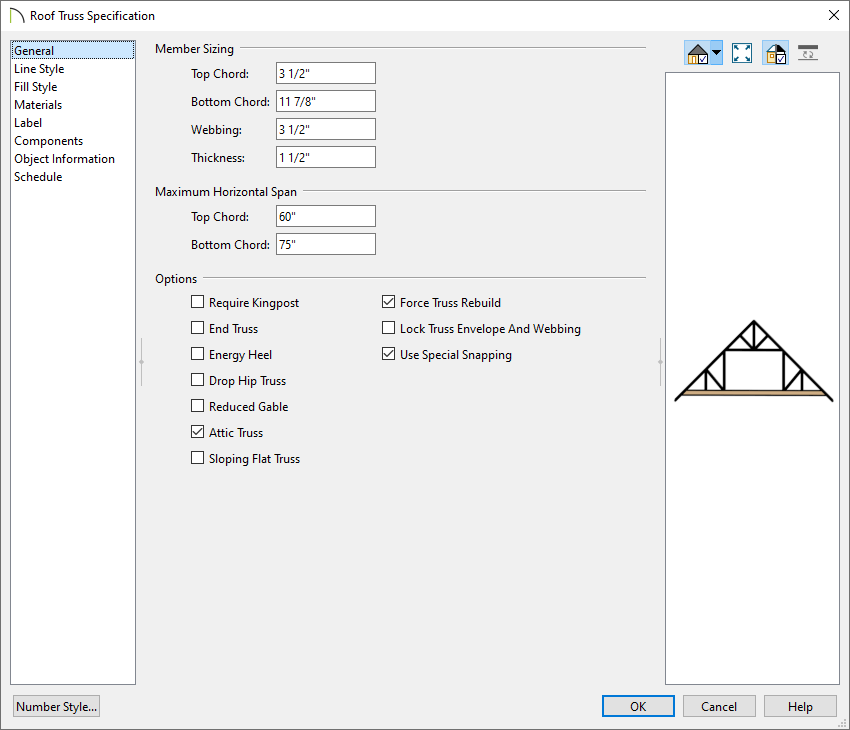
- Change the Bottom Chord depth to match your floor structure depth for floor 2.
In this example, 11 7/8" is used.
- Check the Attic Truss box.
- Check the Force Truss Rebuild box.
- Click OK to close the dialog and apply your change.
At this stage, you could also check the "Lock Truss Envelope And Webbing" box as well to prevent the truss detail from changing if your roof is complete.
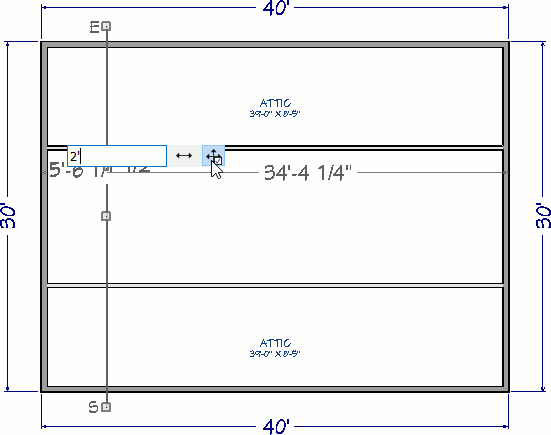
- Make sure Temporary Dimensions
 are toggled on, enable the Select Objects
  tool, then click on the attic truss to select it.
Click on a temporary dimension that shows how far the truss is from either end wall, and type the distance that the first attic truss should be from the wall.
In this example, the truss is placed 2' from the outside of the wall's framing.
- With the truss still selected, click the Multiple Copy
 edit button.
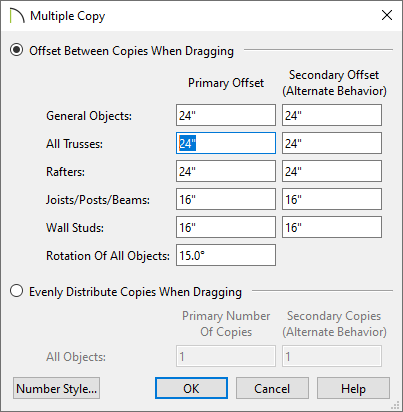
- Click the Multiple Copy Interval
 secondary edit button to open the Multiple Copy dialog, specify the desired Primary Offset for All Trusses, then click OK.
The Primary Offset is the interval at which trusses will be replicated when Multiple Copy is used. In this example, the default value of 24" is used.
- Hover over the main Move edit handle on the truss until you see the Multiple Copy
 cursor display, then click and drag across the structure, in the direction of the opposite end wall.
- As you drag, the preview outlines of new trusses display at 24" intervals.
- When you release the mouse button, the new trusses are created.
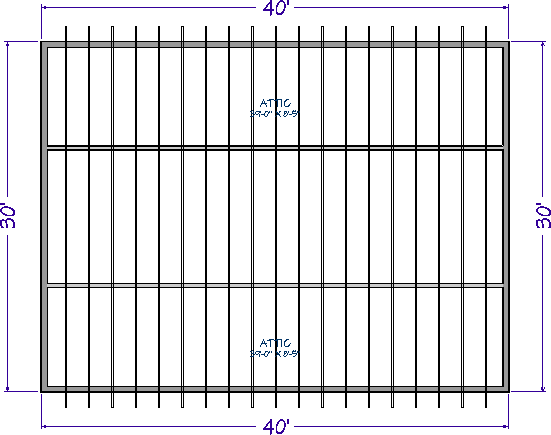
- Create a Framing Overview
 to see the results.
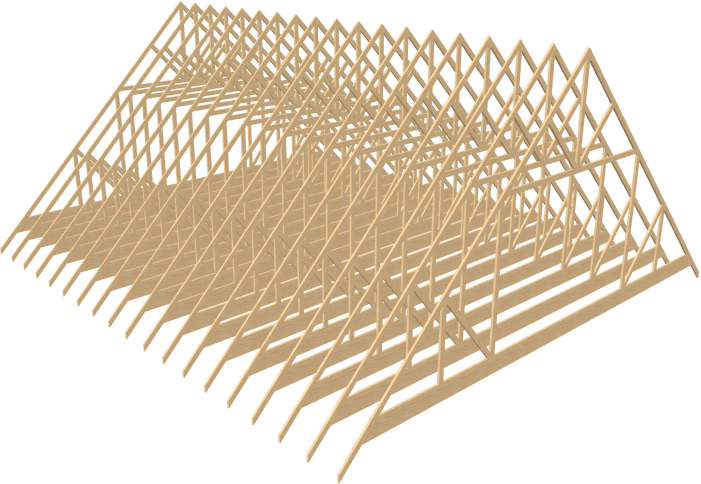
Now, additional framing components, such as lookouts and fascia boards, can be generated automatically using the Build Framing dialog , if needed.


 from the menu, then click and drag to draw a rectangular structure.
 tool, click on the vertical wall on the left to select it, then click the Open Object
  edit button to open the Wall Specification dialog.
 from the menu, and build a second floor derived from the 1st floor plan.
 from the menu, and on the Roof panel of the Build Roof dialog:
 from the menu, then click and drag two interior walls along the ceiling break lines.
 edit button to open the Wall Specification dialog. On the Roof panel, select Knee Wall to specify these walls as knee walls, then click OK.
 tool, click on one of the rooms with a low, sloped ceiling and click the Open Object
  edit button to open the Room Specification dialog.
 from the menu, then click and drag a line that is perpendicular to the ceiling break lines and runs from exterior wall to exterior wall.
 edit button. On the General panel of the Roof Truss Specification dialog:
 are toggled on, enable the Select Objects
  tool, then click on the attic truss to select it.
 edit button.
 secondary edit button to open the Multiple Copy dialog, specify the desired Primary Offset for All Trusses, then click OK.

 to see the results.