- Featured Videos
- Quick Start Video Series
- Plan Management
- User Interface
- Tools & Techniques
- Walls
- Doors, Windows & Niches
- Cabinets, Kitchens & Baths
- Rooms, Floors & Foundations
- Stairs
- Electrical & HVAC
- Dimensions
- Framing
- Decks, Patios, & Porches
- Roofs
- Ceilings
- CAD Tools
- Moldings, Primitives & 3D CAD
- Text Tools
- Saved Plan Views, Layers & Annotations
- Terrain and Site Plans
- Materials: Patterns & Textures
- Rendering: Cameras & Lighting
- Ray Trace
- Material Lists
- Layouts, Construction Documents, and Printing
- Schedules
- Import & Export
- Remodeling
- Features Introduced in Recent Versions of Chief Architect
- Project Videos
- Mobile - 3D Viewer
- NKBA CEU Approved Videos
- Recorded Live Stream Webinars
Playlists
Training Videos
The following are videos recommended by our Training team; these videos reveal useful tips and new features on a variety of topics.
A brief overview of Chief Architect basics: this series covers the basic features and procedures so you can start using Chief Architect software right away.
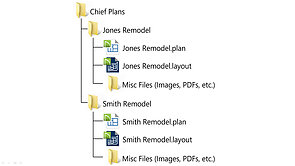
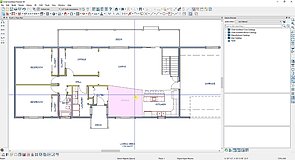
Become familiarized with Chief Architect's User Interface; learn how to use and customize toolbars and hotkeys, customize program preferences and plan defaults.
Learn various methods of using the tools available in Chief Architect.
There are various methods of defining walls in order to customize their construction, learn how to utilize different wall types, and how to manipulate them to be the perfect wall for your design.
Learn how to customize doors and windows; change opening size and shape, apply custom casing, and create mulled units to create specific openings.
This series explores the various aspects of placing and modifying cabinet; learn how to use Manufacturer cabinet catalogs, corner cabinets and special shaped cabinets, applying molding and hardware, working with embedded appliances and fixtures.
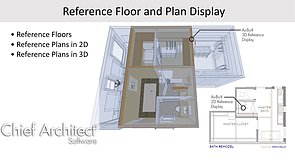
Defining rooms to create customized designs: adjust floor and ceiling heights to create split level or split entry designs, create custom room types, custom flooring and material regions, bearing walls and stepped foundations.
Create a simple staircase with a single click with an automatically generate a stairwell, or manually draw a custom staircase and landing. Learn how to customize the treads and shape of the staircase and apply custom railings.
Placing and modifying electrical objects, setting electrical defaults for specific types of lights and switch styles, and how to use our special HVAC Catalog to create ducting.
Using the Manual and Automatic dimension tools: setting the defaults to control what is located by dimensions and the style of the dimensions, editing dimension lines to ensure the most accurate dimensions, and using dimension lines to precisely locate objects.
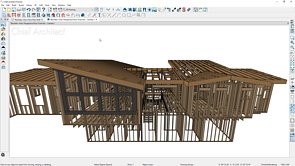
Using automatic and manual framing tools to quickly generate framing for floor and ceiling platforms, walls, and roofs, placing custom beams and support posts, adding bracing and blocking.
Creating decks and porches: using the room's definition to specify ceiling and/or roof height, modifying the automatic deck framing and manually editing it.
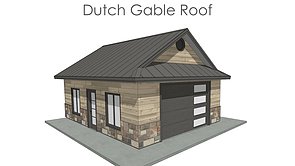
Use the roof directives to automatically generate hip, gable, shed, gambrel, gull wing, half hip, or dutch gable conditions. Create a story and a half structure and place automatic dormers. Manually draw in custom roof planes and join them together, allowing the program to do the math for you.
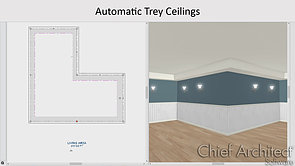
Draw custom sloped ceiling planes and sloped soffits, and how to model coffered, tray, and suspended ceilings.
Create basic CAD objects such as lines, rectangles and circles, and learn how to edit or transform them using tools like Fillet, Chamfer, Stretch CAD, and Trim and Extend.
Apply molding profiles to rooms, or manually draw in molding polylines for custom moldings. Convert 2D shapes into a variety of 3D objects.
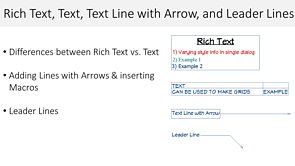
Use the Text tools to place text, add Callouts and Markers, and learn how text macros can automate your text labels.
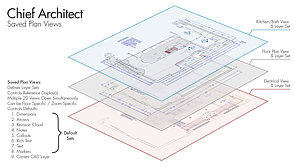
Build your process with Layers, Annotations, and Saved Plan Views.
Use the terrain tools to create an accurate site plan as well as accurate topographical data; terrain data can also be imported from an outside source.
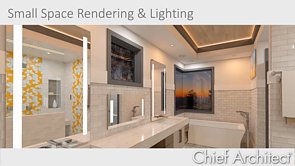
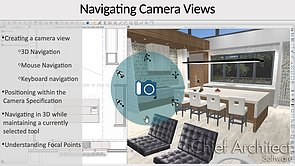
Create 2D and 3D camera views: explore the different camera types, rendering techniques, and lighting options, and learn how to export a 360 panorama or photo-realistic ray traced view.
Create realistic images using Chief Architect's built-in Ray Trace engine; learn how to customize the lighting and materials to create the perfect scene.
Learn how to customize materials in order to create an accurate Materials List used to estimate material costs.
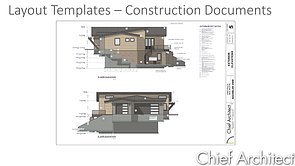
Create complete construction documents by sending plan views, elevation and camera views, or detail views to a layout page.
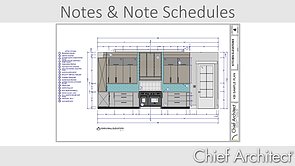
Schedules will automatically reflect objects placed anywhere on the plan; learn how to customize Schedules to fit your needs.
There are a number of file types that can be imported into or exported from a Chief Architect plan file; 2D CAD files, images, PDF files, and 3D symbols can all be imported into a plan file. Similarly, 2D CAD versions, high res images, and 3D models of your plan can all be exported.
Importing and converting 2D CAD data into a usable plan, tracing over an image or PDF document, or creating an as-built mask as just a few of the processes that can be used to help create a remodel plan.
These series explore the many features added into recent releases of Chief Architect.
Our project videos use of a variety of tools and design methods in a more real-world scenario, each focusing on a specific design to demonstrate a start-to-finish design process.
Chief Architect's 3D Viewer allows you to share your designs with clients or subcontractors. Models are exported from Chief Architect and can be viewed on a phone, tablet or web page.
The following videos have been approved by the National Kitchen and Bath Association to count toward Continued Education Unit credits.
Back to top


